
MurdocksReptiles
New member
Hello everyone,
My name is Jake Murdock.
I am starting my business MurdocksReptiles (Through the help of Bill Gaines business starting point) and I thought it was over due time to introduce myself.
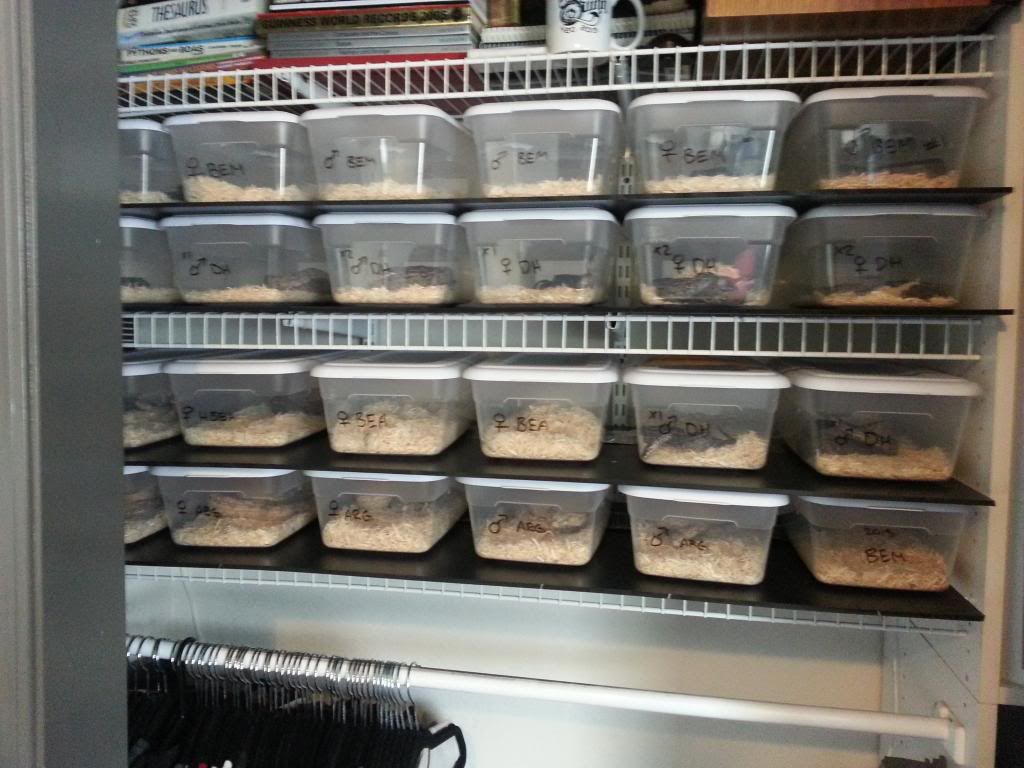
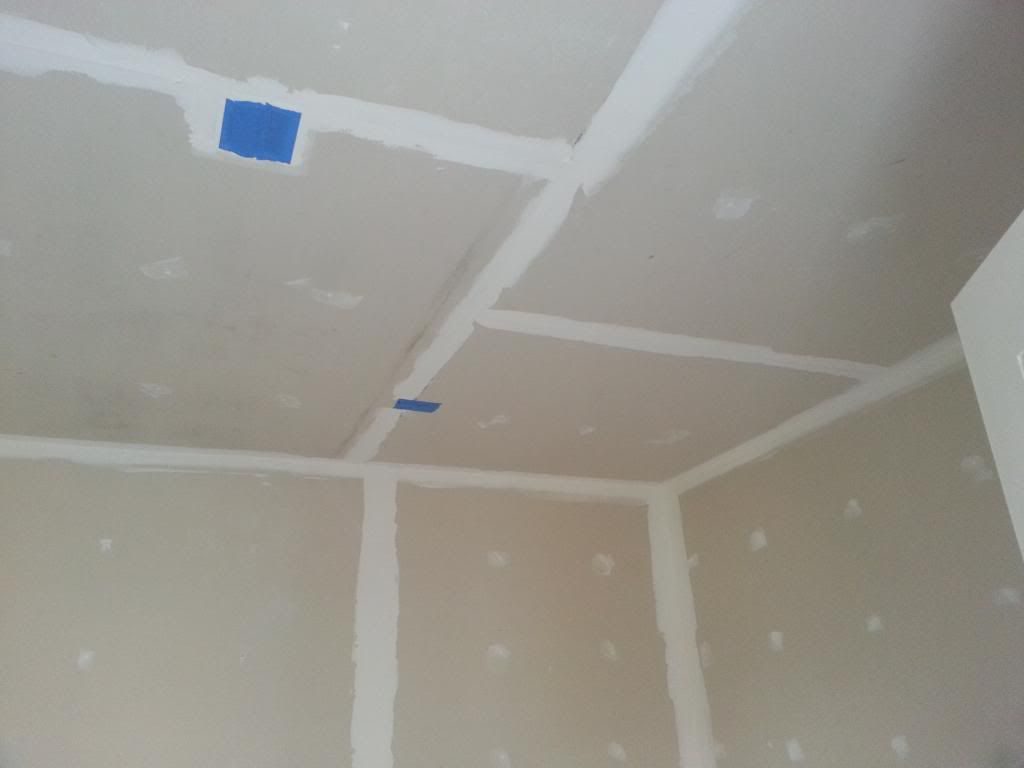
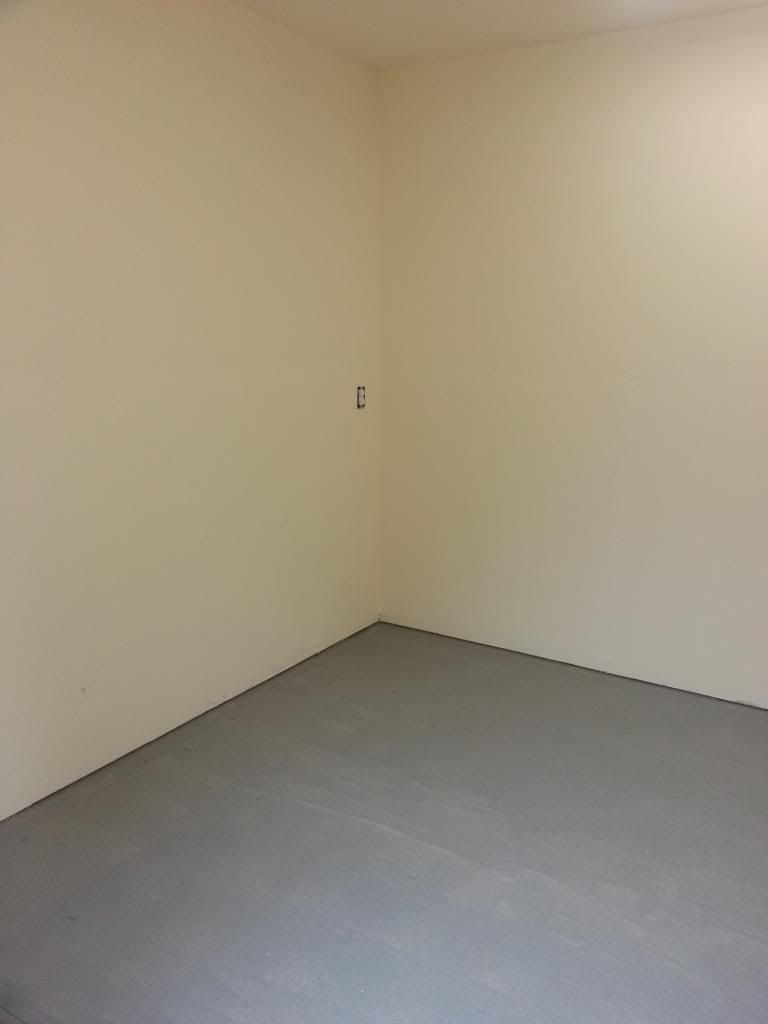
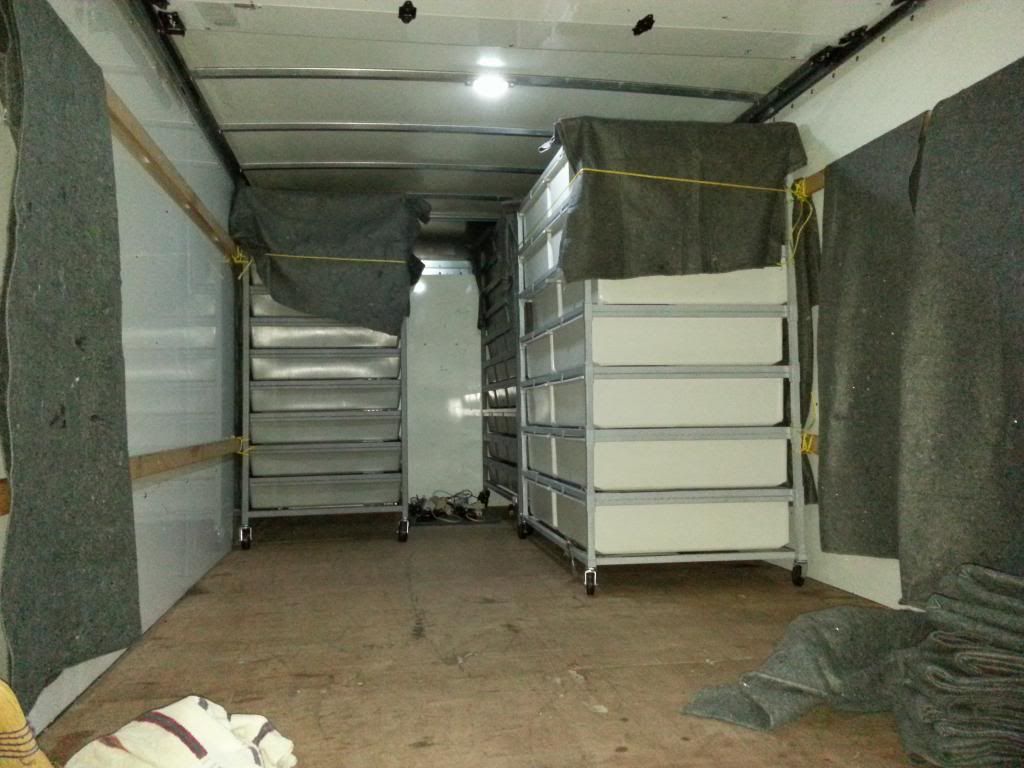
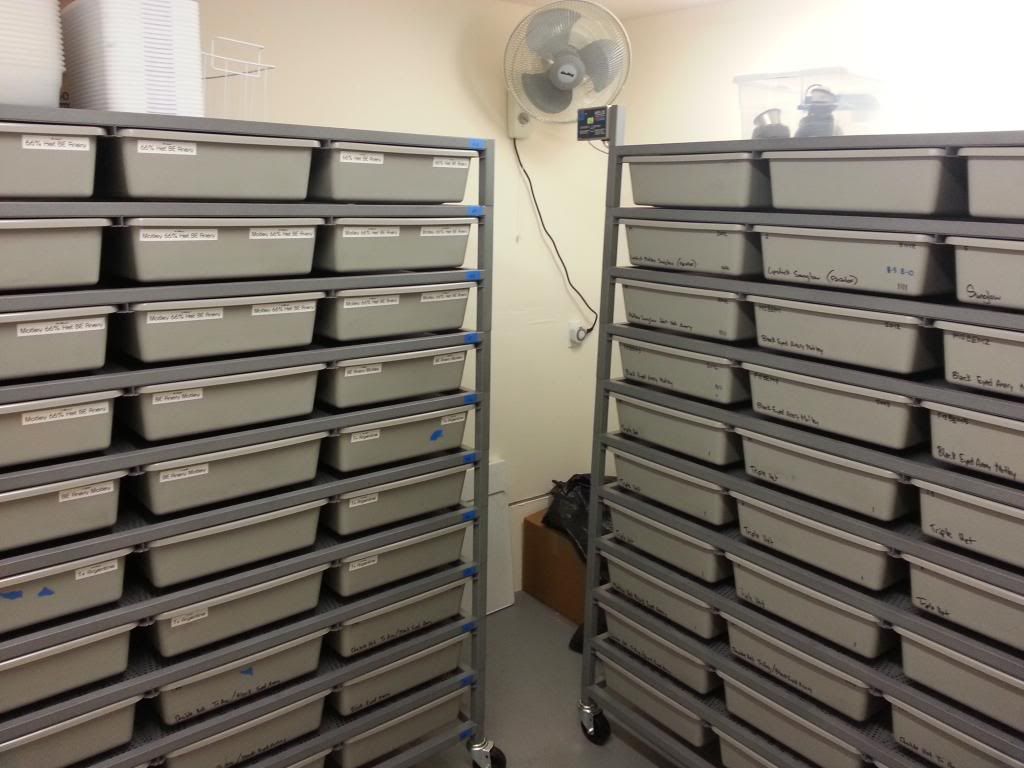
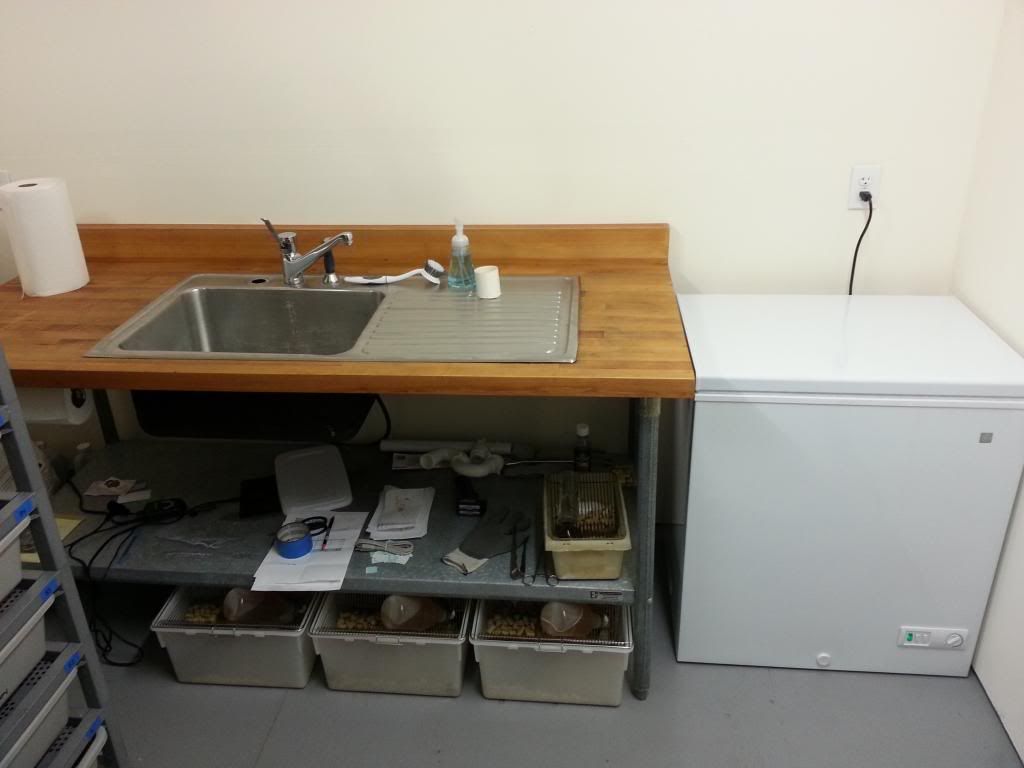
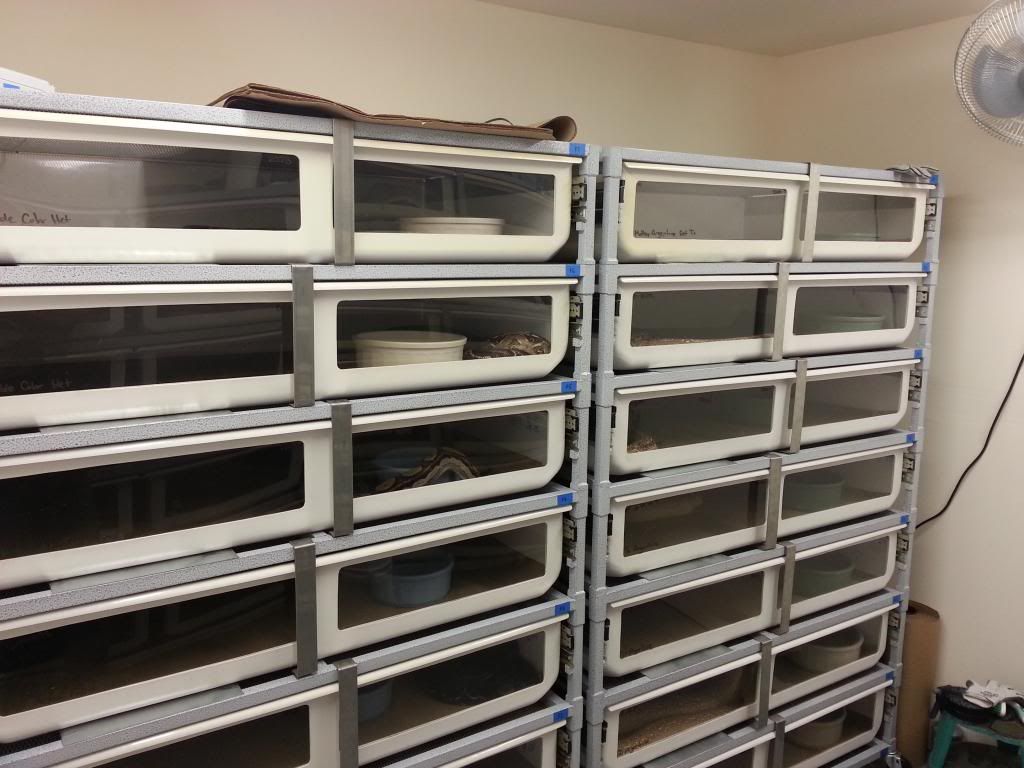
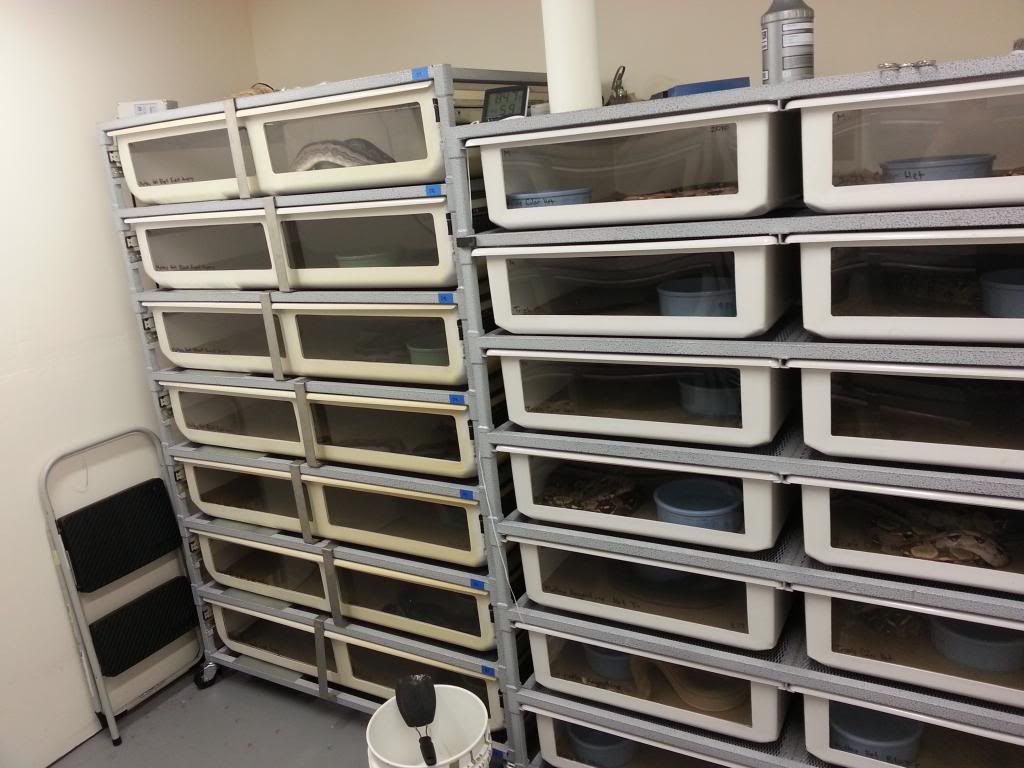
Through out the course of these posts I will be posting a lot of pictures of the process of building my shed in which I am now housing my collection of over 100 boas. As well as trying to introduce myself and what motivates me.
Where to start
Well I guess it really started at birth with the name Jake and being born with a lisp I was naturally Jake the Snake. I used to hate it but I got over it and got used to it at a certain point. When I was younger around kindergarten I remember my dad getting some corn snakes. He would bring them into my class and let us pet him. That was definitely the start of it all I'd say. Not sure how old I was when my dad got our Rainbow Boa from a friend a local pet shop, Rosy, but I remember holding her and having her in my room. In middle school I started getting distracted with other things, auto and welding, and we ended up donating Rosy to my 7th grade science teacher. Only took a few years before I was looking for a snake again.
At about 17 is when it really began again I found Faunaclassifieds and I was hooked I bought a hypo het for albino not even knowing what het meant HA! I decided I better do some real research on this not just how to take care of him. So I spent hours in front of the computer learning more and more. And I decided "..well if Im gonna have one I might as well have 2 and breed them, and if Im gonna breed them I might as well breed some cooler looking ones..". So I bought 2 motley sunglows and 2 sunglows. I had been raising them up for about a year, always keeping my eye on fauna for what was out there. And then I found Bills ad.
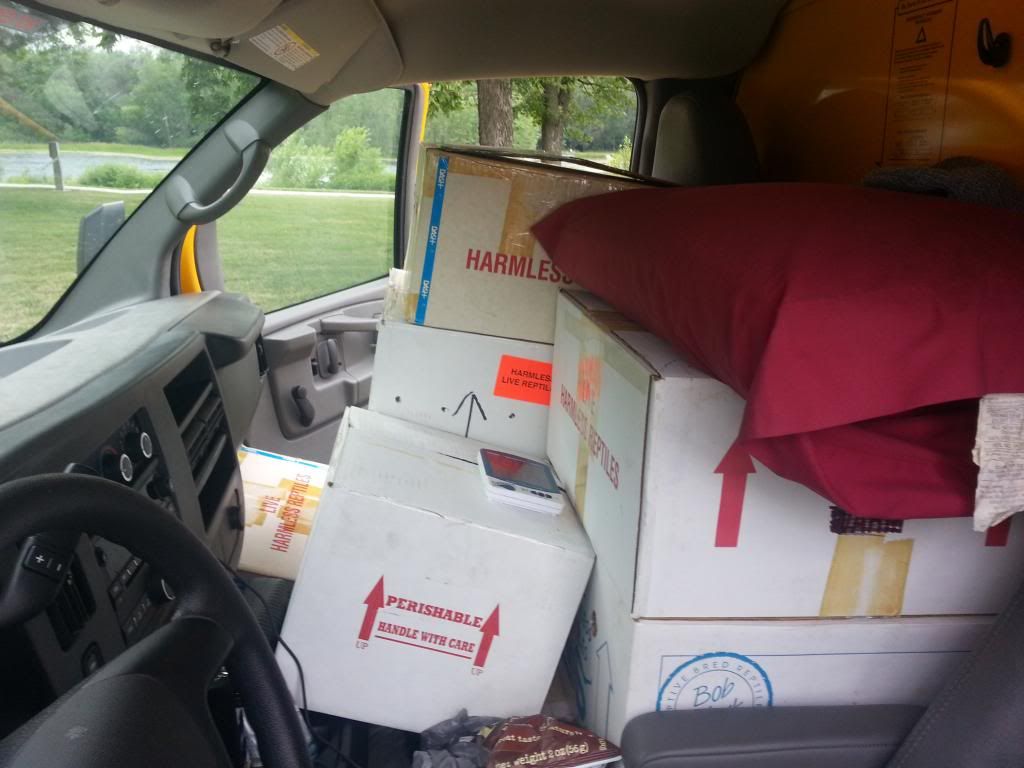
I was in awe of his collection, so many awesome projects in one great package. I didnt even think of it as a possibility I was just excited to share when I told my dad about it. He encouraged me to look into it if for nothing else to take the chance to pick Bills brain. Well I did and boy he can talk we spent hours talking, and a few weeks later I flew out from CA to IN to look at his collection. I spent my entire college savings on this collection, (I'm sure some of you may look down on that decision but I had already graduated Highschool early on Proficiancy test and finished my 2 year auto/welding program at a local community college with all the certifications needed to become a structural welder anywhere in the world) and I have my grandma to thank for that. She set aside an investment when I was born and let it flourish until my 18th birthday.
Between my first trip and second trip I had just under 3 months to build a shed in my backyard. Now I thought this would be plenty of time but I definitely ran into some time crunches.
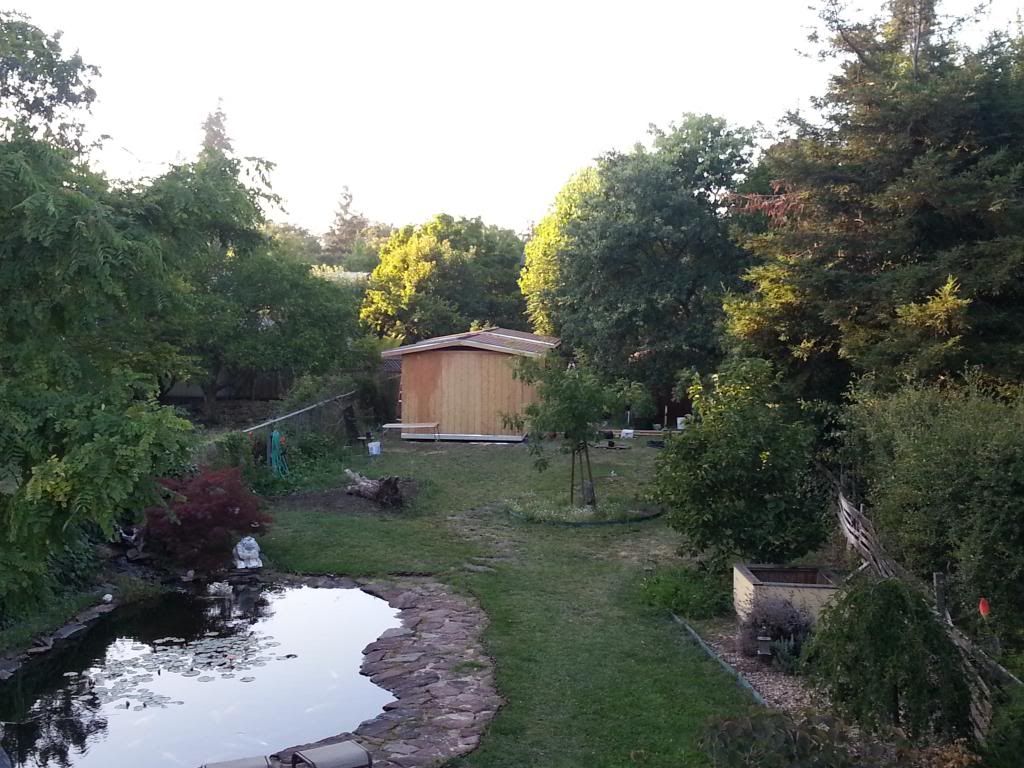
Now Im going to start some of the pictures I have. Man do I wish I would have gotten a picture of what this corner of the yard looked like to start.. Completely covered with 6ft tall artichokes and blackberry bushes intertwined. Took a full truck load to a compost site and still had needed a few weeks worth of trash can fillups.
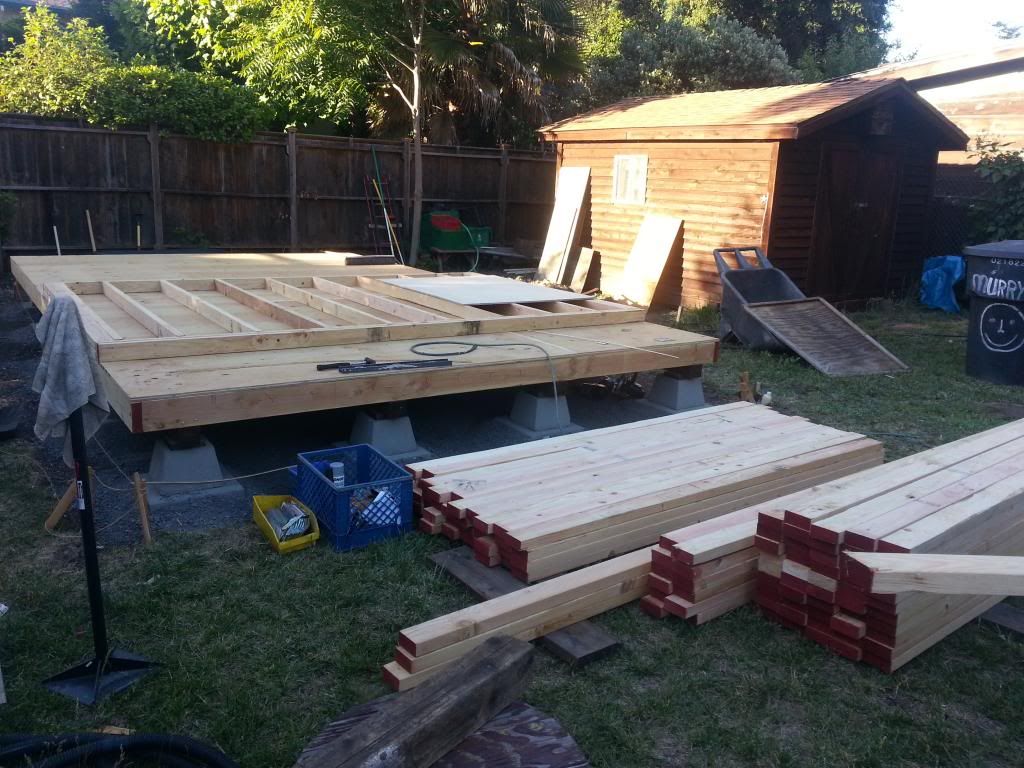
Started by removing the plants, then leveled for days, LITERALLY. Graded the area for drainage all with a rake shovel tamp and 2-3 sets of hands. Then added some road base to level the 18" pavers. Topped those with pier blocks (for now decided to remove later due to high profile and un-necessity according to my contractor guru neighbor) and then screwed down 4x4 pressure treated girders. Topped that with 2x6 16" on center and once more topped that with 3/4" tongue and groove plywood.
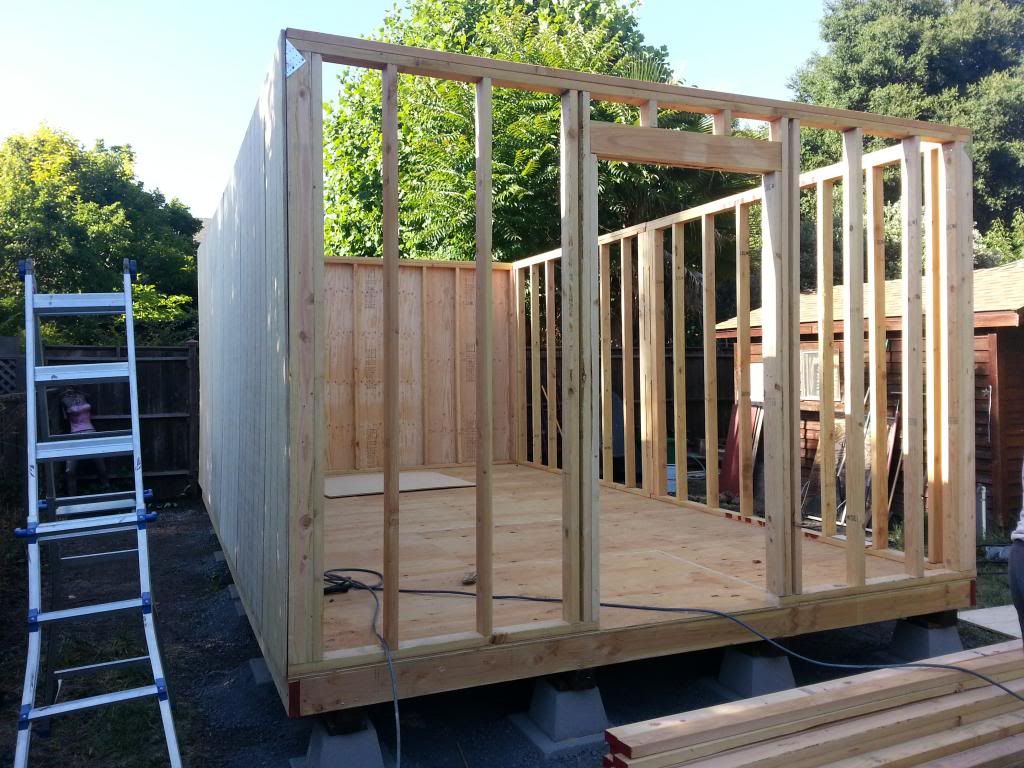
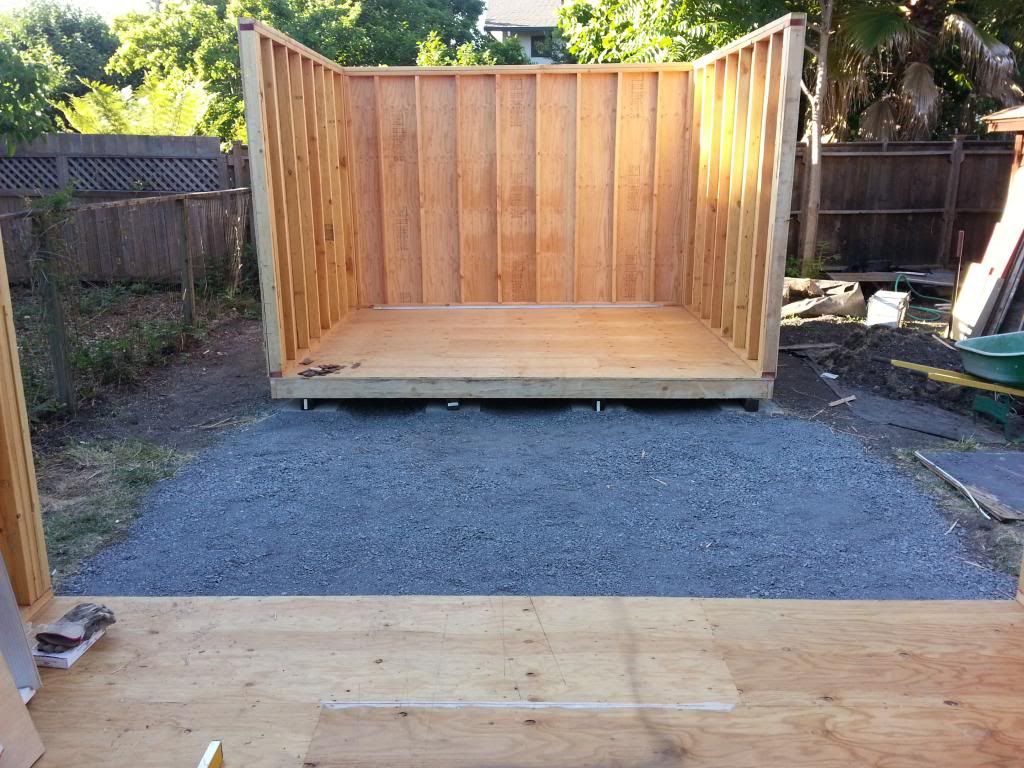
Stage was set. with 100+ 2x4 ready for framing
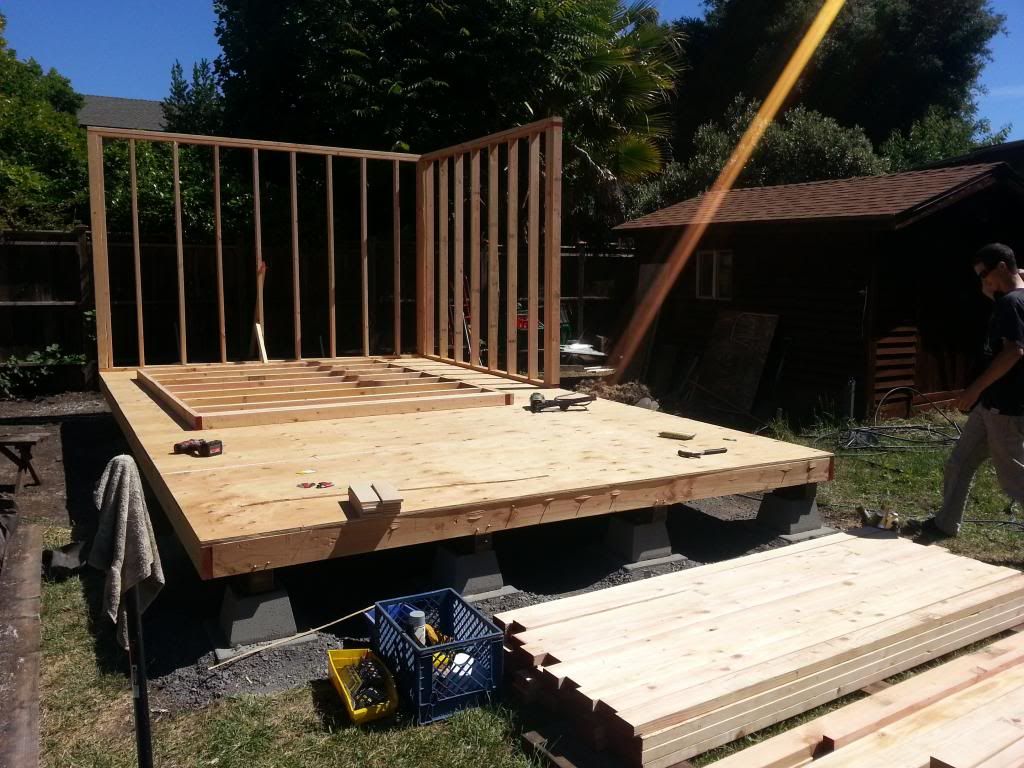
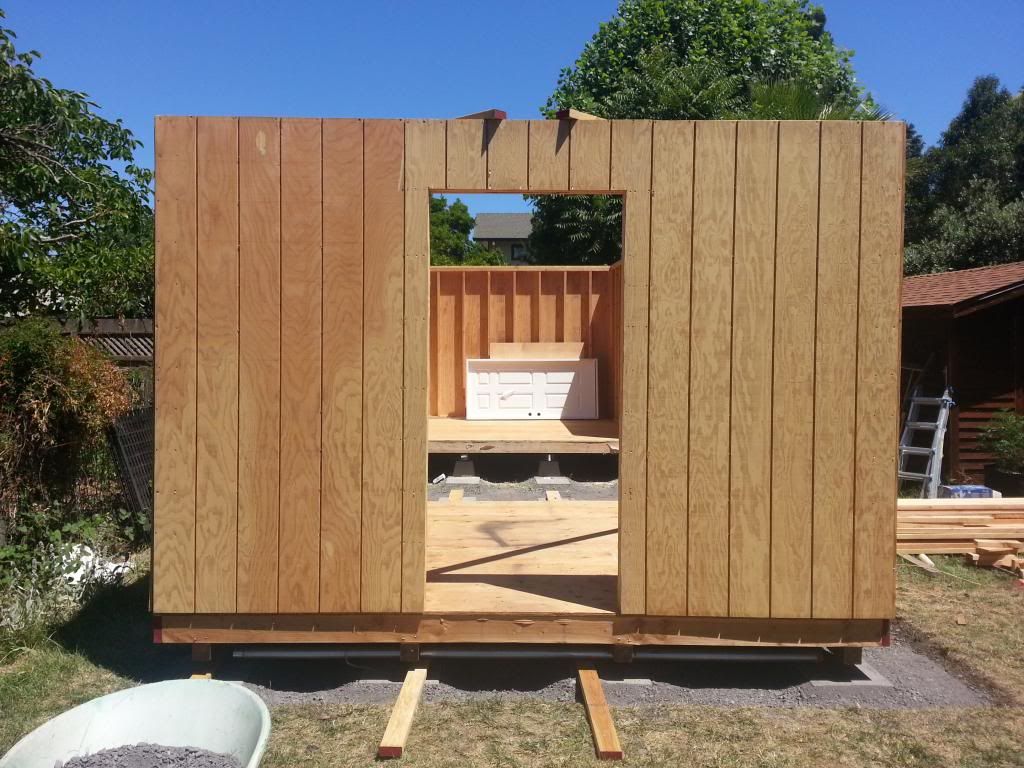
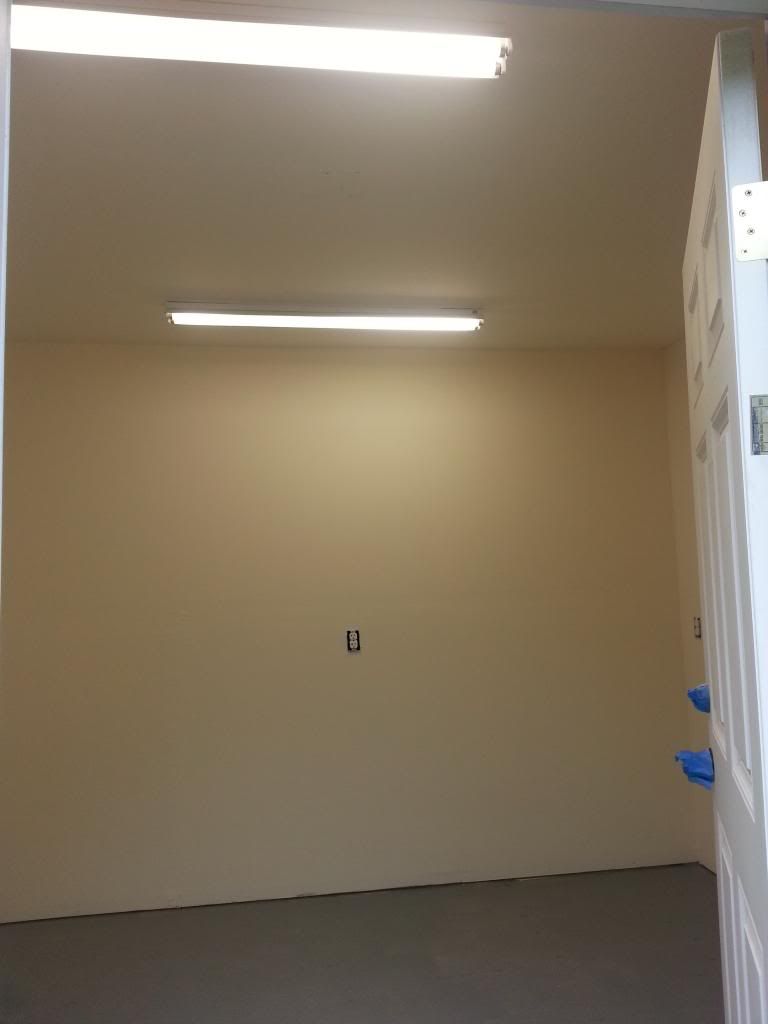
New day, more sets of hands. Frame work is going up. (some of you may be thinking why is that wall only halfway done well we will get to that later)
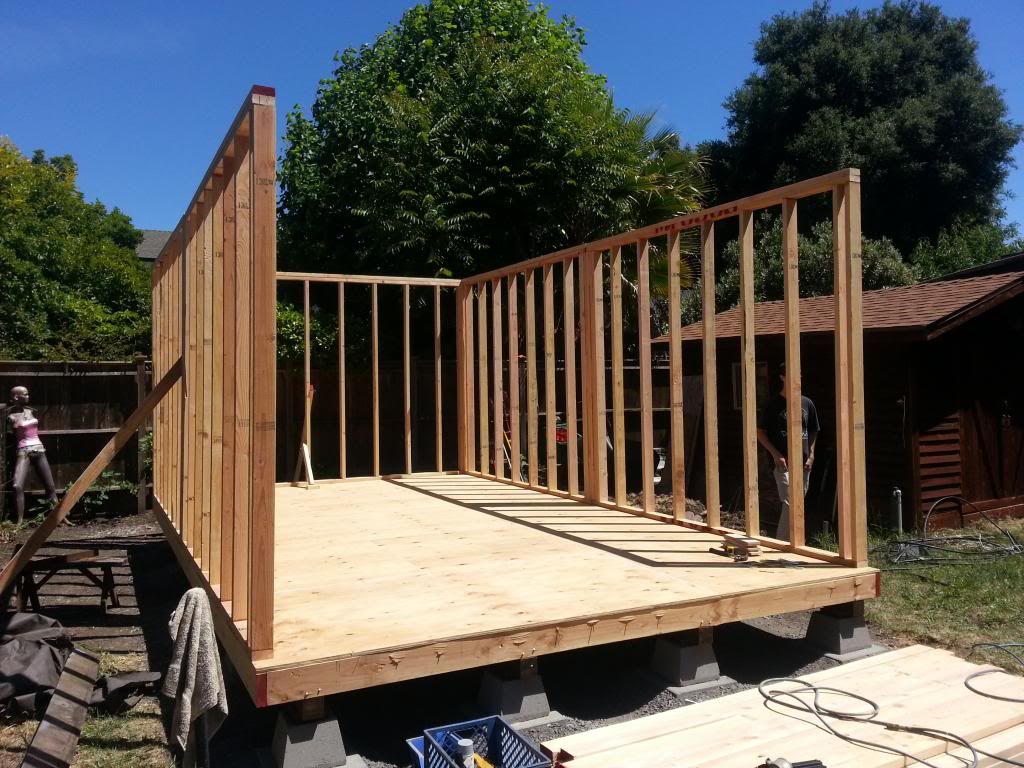
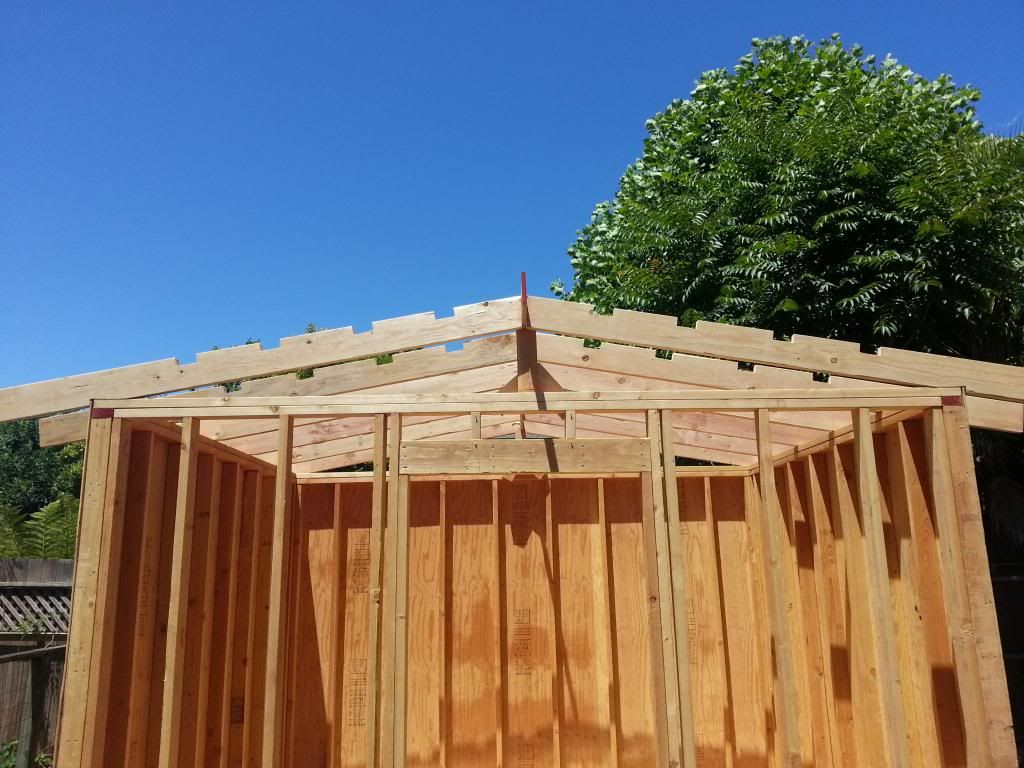
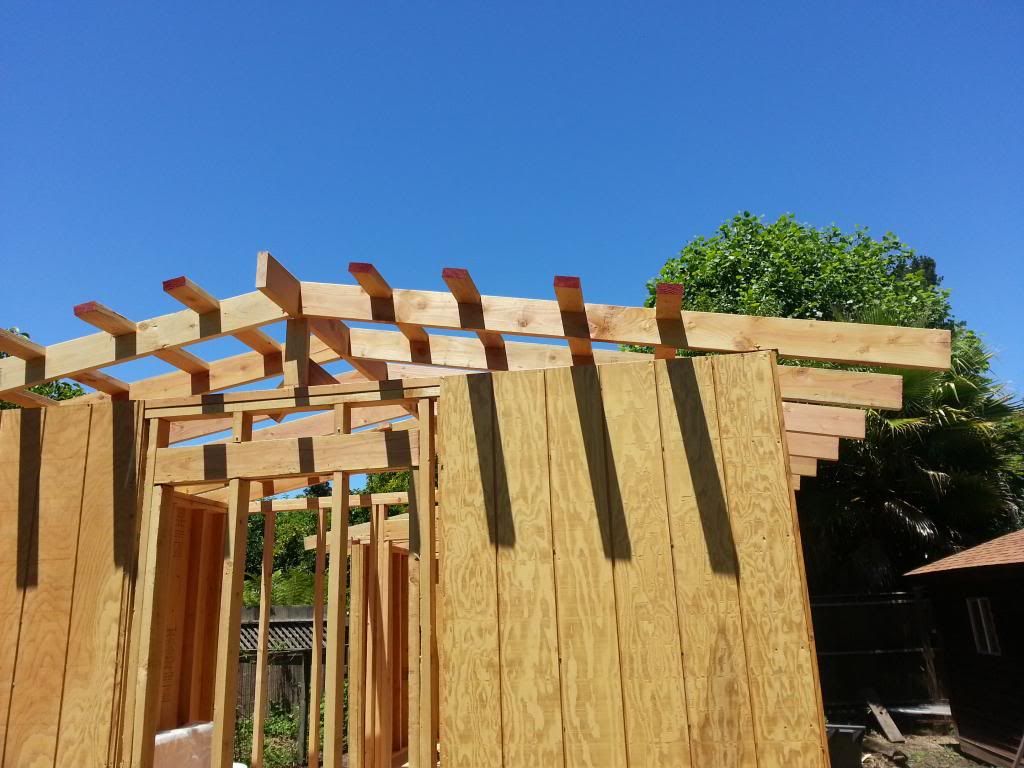
More PROGRESS!
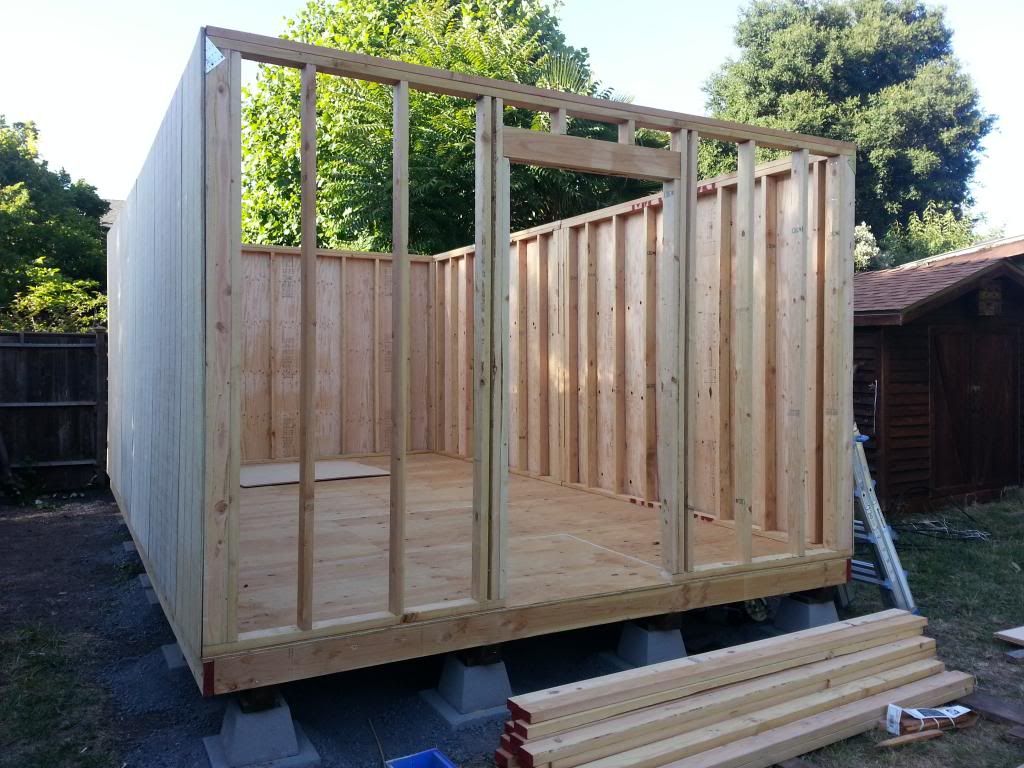
At this point I felt like I was flying through this project. But its the little things that add up. And the fact that Ive never built a shed or anything quite similar before added with my decision to build from scratch, I was in for some snags.
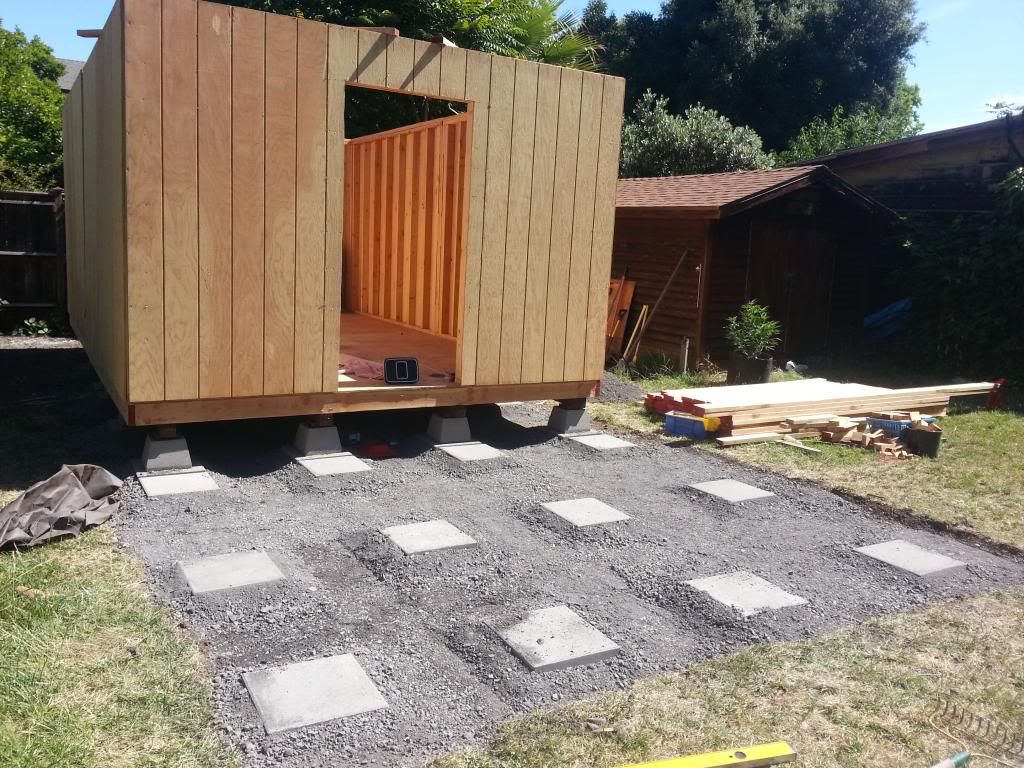
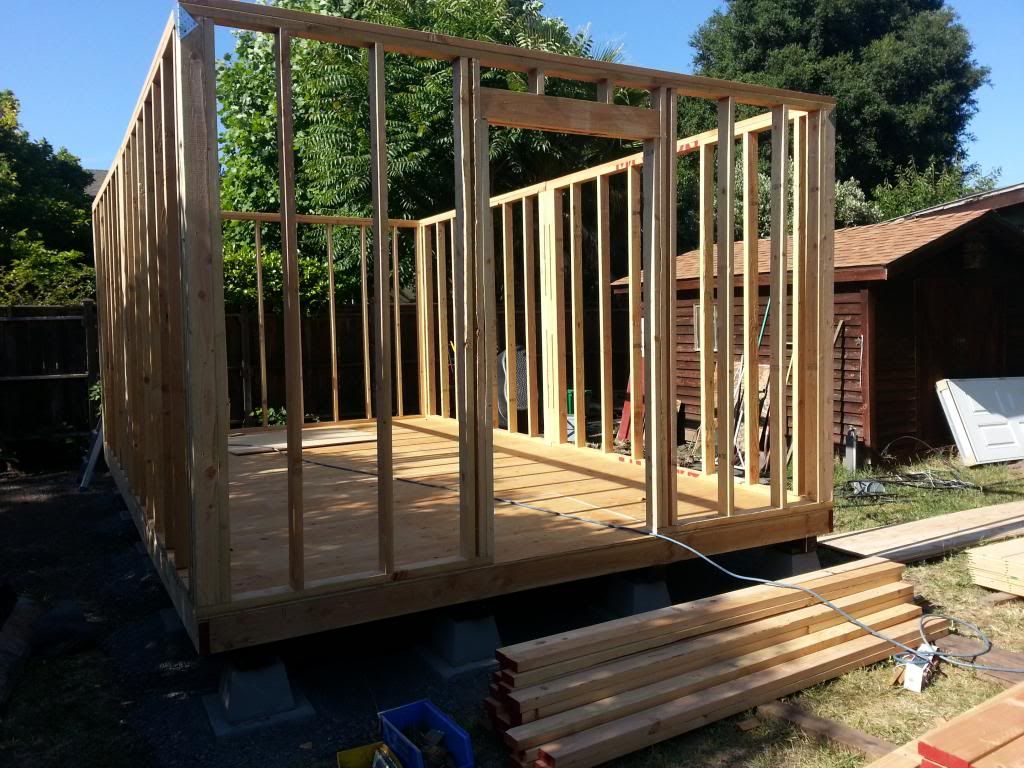
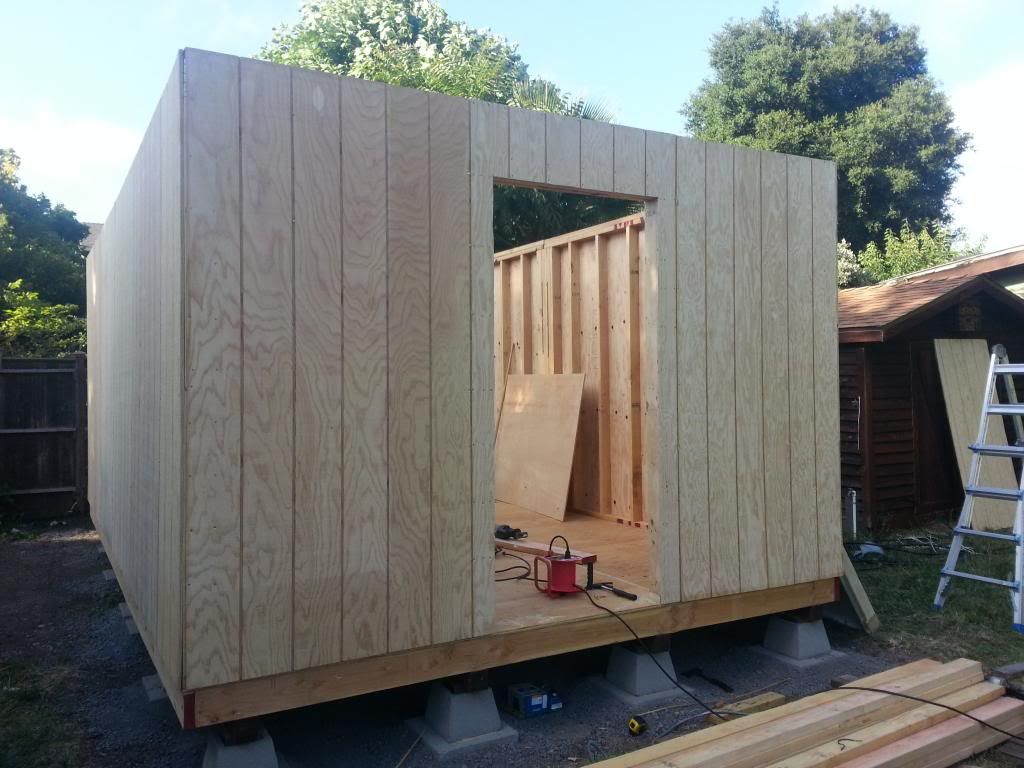
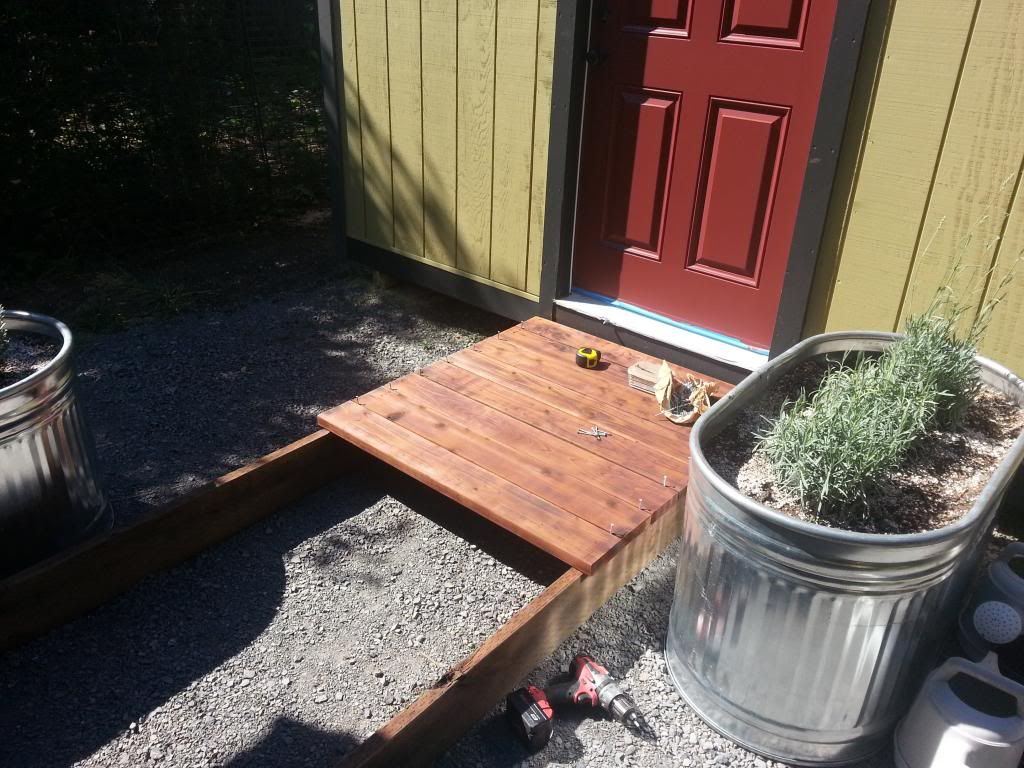
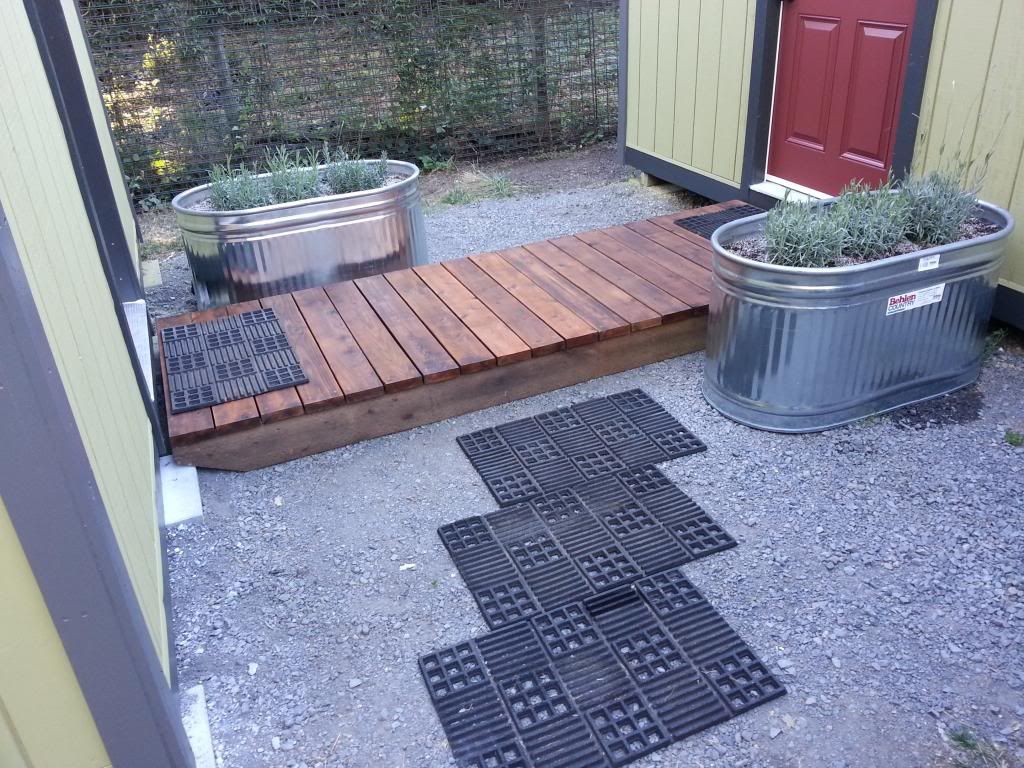
Snags like this, some of you may be wondering what the hell kind of fancy patio I'm making.. Well
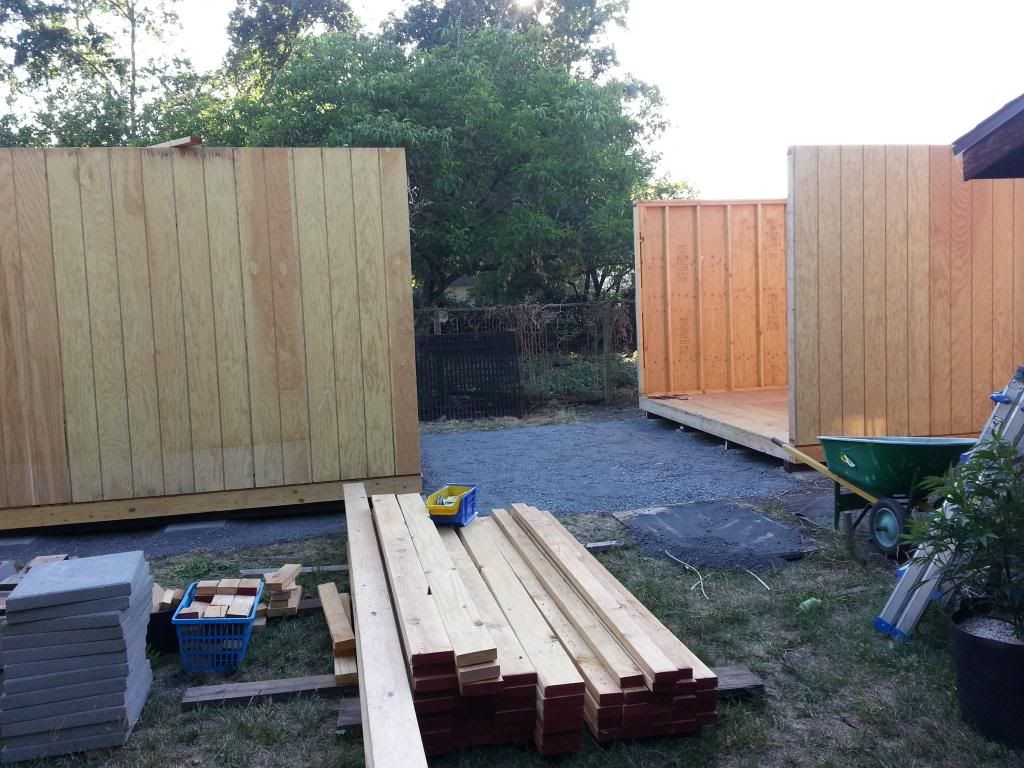
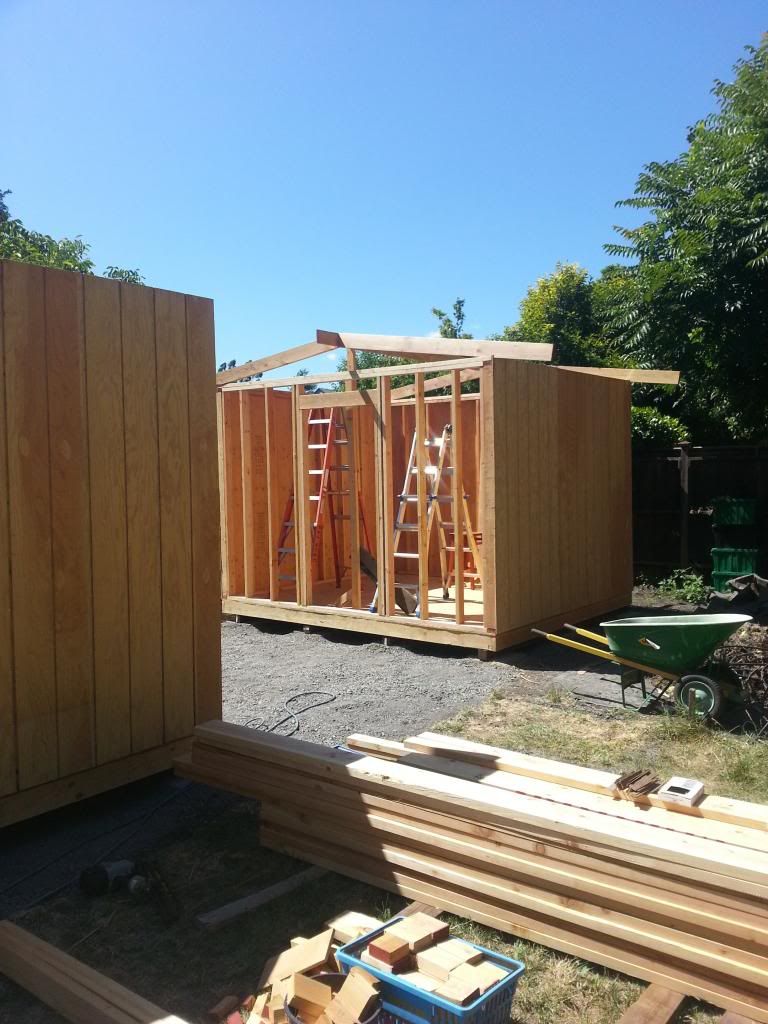
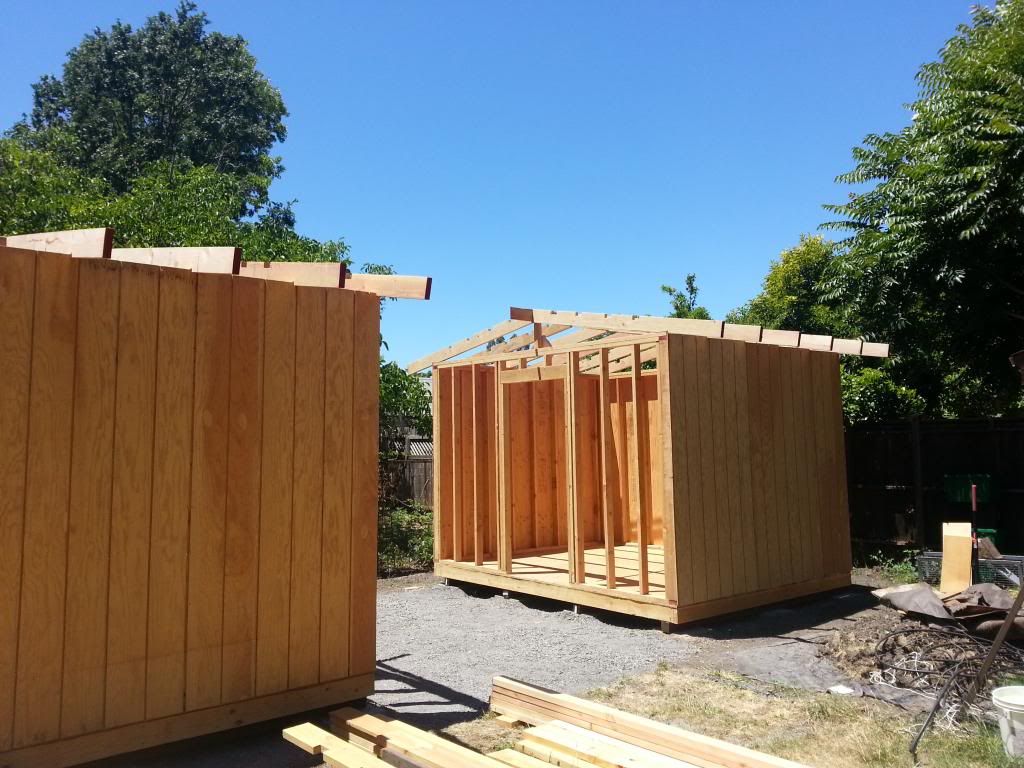
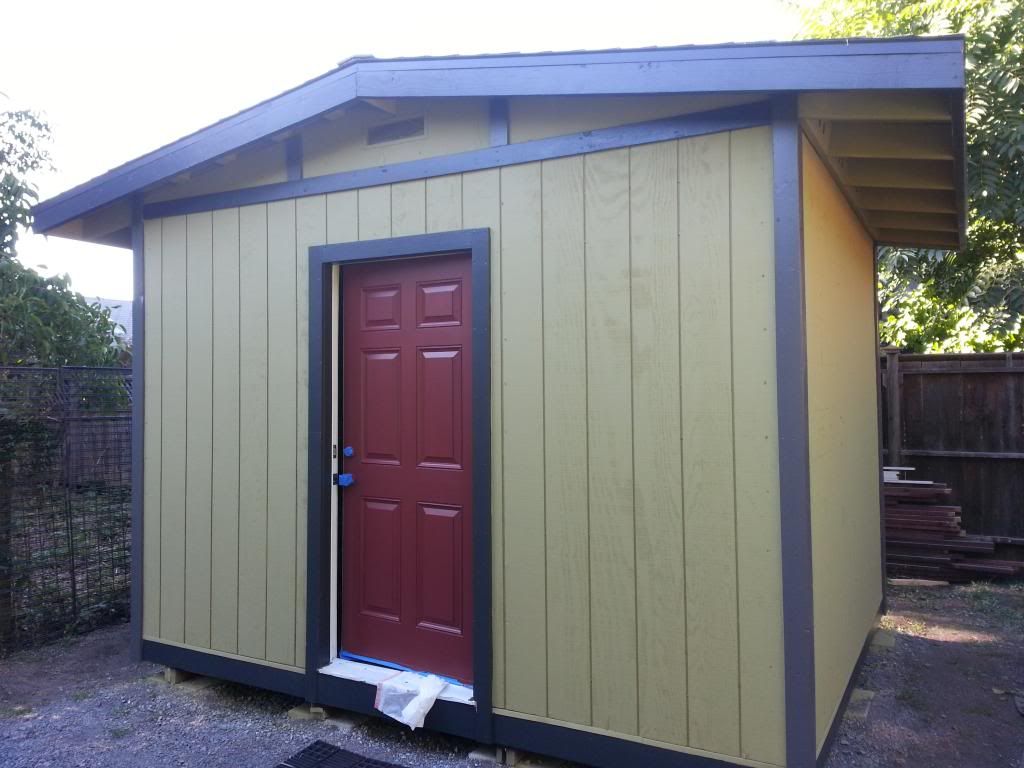
Hocus Pocus Alakazam! Now there’s 2!.
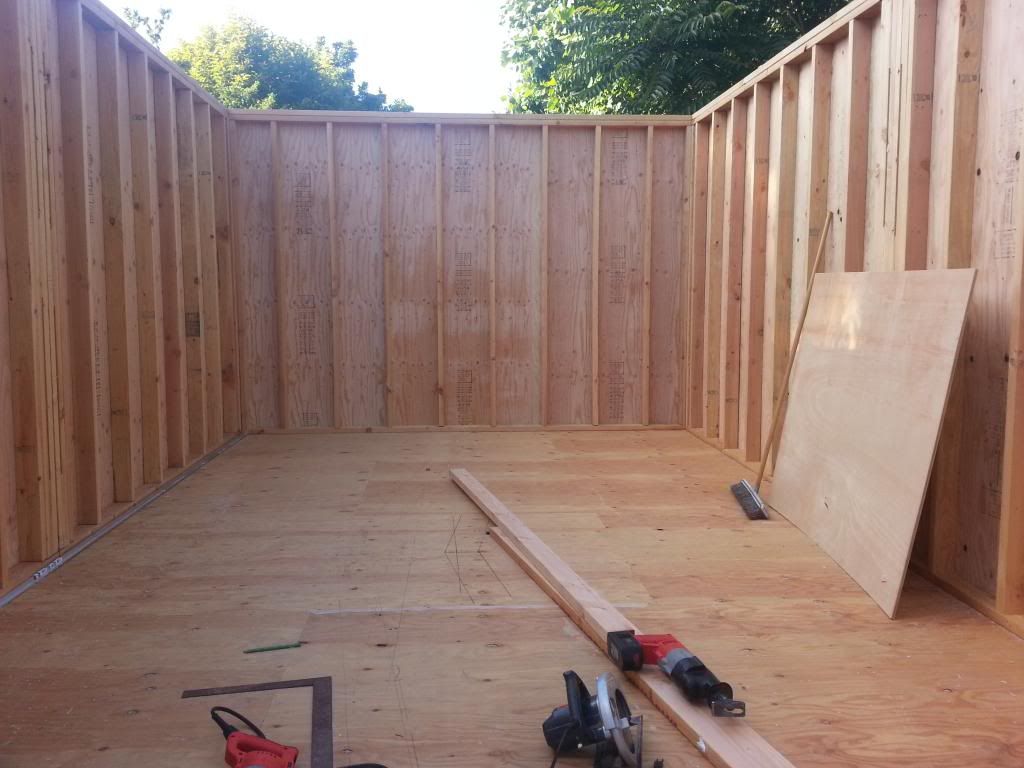
Got turned into the city by some anonymous neighbors during the process of building my sheds. Without drawing out the story too much, I luckily had planned ahead (with the help of my contractor guru neighbor) to actually build 2 sheds of max legal size and then butt them together. I knew the 12' x 20' shed I had built was over limit, but if if ever came to it I would split it into 2 12' x 10' sheds that are completely legal without a permit (in Sonoma County CA that is)
So I did exactly that, I did not think it would come to it ever let alone so soon, but I guess we have some busybody anonymous neighbors. Before the inspector even came I sawzalled them in half and rolled one half away on pipes. Only after tearing up more grass and leveling pavers. This is the point where I removed the pier blocks for a lower profile as well as a refund to my budget to counter the added costs of 2 more walls.
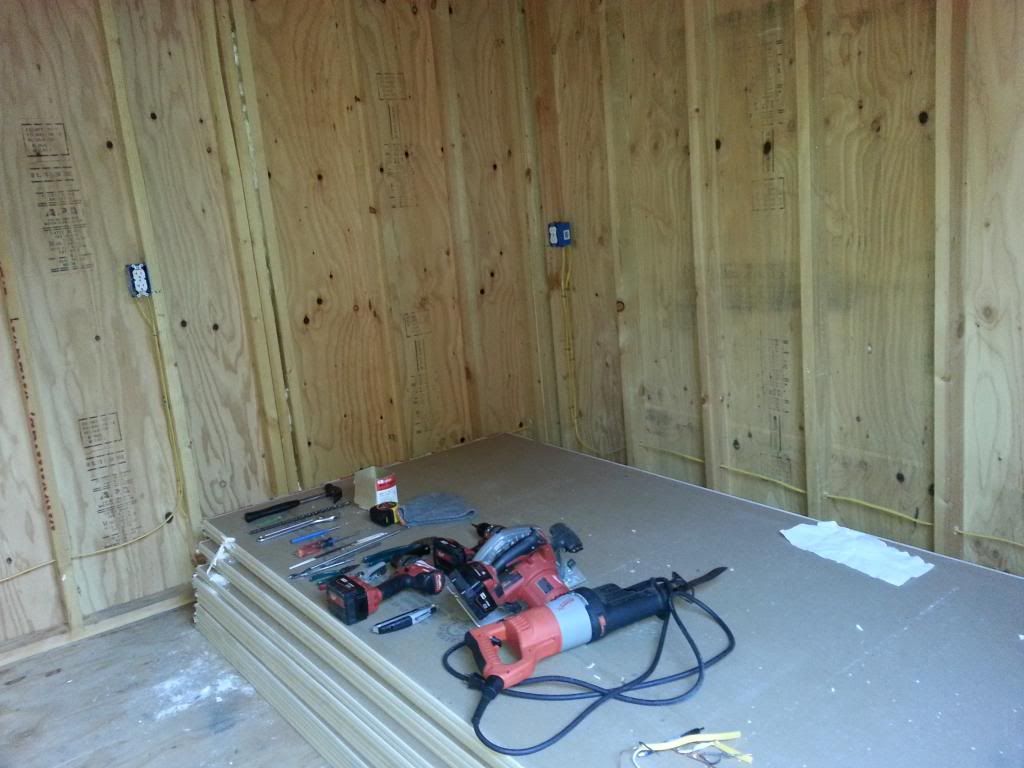
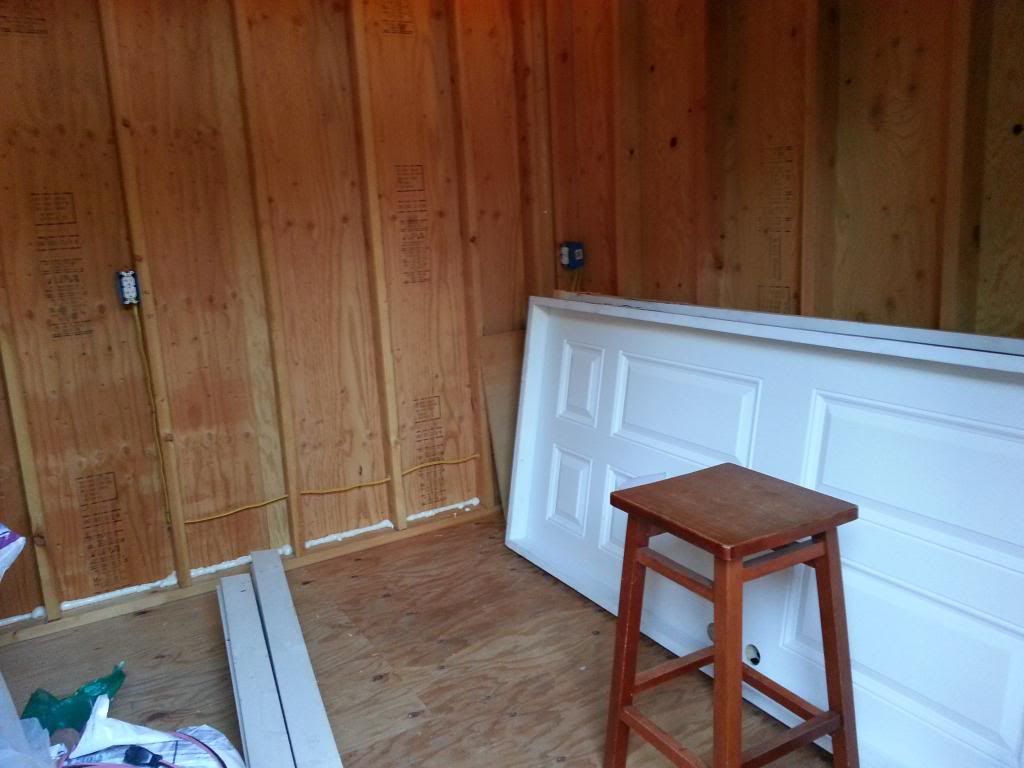
Ok back to PROGRESS!
My name is Jake Murdock.
I am starting my business MurdocksReptiles (Through the help of Bill Gaines business starting point) and I thought it was over due time to introduce myself.
Through out the course of these posts I will be posting a lot of pictures of the process of building my shed in which I am now housing my collection of over 100 boas. As well as trying to introduce myself and what motivates me.
Where to start
Well I guess it really started at birth with the name Jake and being born with a lisp I was naturally Jake the Snake. I used to hate it but I got over it and got used to it at a certain point. When I was younger around kindergarten I remember my dad getting some corn snakes. He would bring them into my class and let us pet him. That was definitely the start of it all I'd say. Not sure how old I was when my dad got our Rainbow Boa from a friend a local pet shop, Rosy, but I remember holding her and having her in my room. In middle school I started getting distracted with other things, auto and welding, and we ended up donating Rosy to my 7th grade science teacher. Only took a few years before I was looking for a snake again.
At about 17 is when it really began again I found Faunaclassifieds and I was hooked I bought a hypo het for albino not even knowing what het meant HA! I decided I better do some real research on this not just how to take care of him. So I spent hours in front of the computer learning more and more. And I decided "..well if Im gonna have one I might as well have 2 and breed them, and if Im gonna breed them I might as well breed some cooler looking ones..". So I bought 2 motley sunglows and 2 sunglows. I had been raising them up for about a year, always keeping my eye on fauna for what was out there. And then I found Bills ad.
I was in awe of his collection, so many awesome projects in one great package. I didnt even think of it as a possibility I was just excited to share when I told my dad about it. He encouraged me to look into it if for nothing else to take the chance to pick Bills brain. Well I did and boy he can talk we spent hours talking, and a few weeks later I flew out from CA to IN to look at his collection. I spent my entire college savings on this collection, (I'm sure some of you may look down on that decision but I had already graduated Highschool early on Proficiancy test and finished my 2 year auto/welding program at a local community college with all the certifications needed to become a structural welder anywhere in the world) and I have my grandma to thank for that. She set aside an investment when I was born and let it flourish until my 18th birthday.
Between my first trip and second trip I had just under 3 months to build a shed in my backyard. Now I thought this would be plenty of time but I definitely ran into some time crunches.
Now Im going to start some of the pictures I have. Man do I wish I would have gotten a picture of what this corner of the yard looked like to start.. Completely covered with 6ft tall artichokes and blackberry bushes intertwined. Took a full truck load to a compost site and still had needed a few weeks worth of trash can fillups.
Started by removing the plants, then leveled for days, LITERALLY. Graded the area for drainage all with a rake shovel tamp and 2-3 sets of hands. Then added some road base to level the 18" pavers. Topped those with pier blocks (for now decided to remove later due to high profile and un-necessity according to my contractor guru neighbor) and then screwed down 4x4 pressure treated girders. Topped that with 2x6 16" on center and once more topped that with 3/4" tongue and groove plywood.
Stage was set. with 100+ 2x4 ready for framing
New day, more sets of hands. Frame work is going up. (some of you may be thinking why is that wall only halfway done well we will get to that later)
More PROGRESS!
At this point I felt like I was flying through this project. But its the little things that add up. And the fact that Ive never built a shed or anything quite similar before added with my decision to build from scratch, I was in for some snags.
Snags like this, some of you may be wondering what the hell kind of fancy patio I'm making.. Well
Hocus Pocus Alakazam! Now there’s 2!.
Got turned into the city by some anonymous neighbors during the process of building my sheds. Without drawing out the story too much, I luckily had planned ahead (with the help of my contractor guru neighbor) to actually build 2 sheds of max legal size and then butt them together. I knew the 12' x 20' shed I had built was over limit, but if if ever came to it I would split it into 2 12' x 10' sheds that are completely legal without a permit (in Sonoma County CA that is)
So I did exactly that, I did not think it would come to it ever let alone so soon, but I guess we have some busybody anonymous neighbors. Before the inspector even came I sawzalled them in half and rolled one half away on pipes. Only after tearing up more grass and leveling pavers. This is the point where I removed the pier blocks for a lower profile as well as a refund to my budget to counter the added costs of 2 more walls.
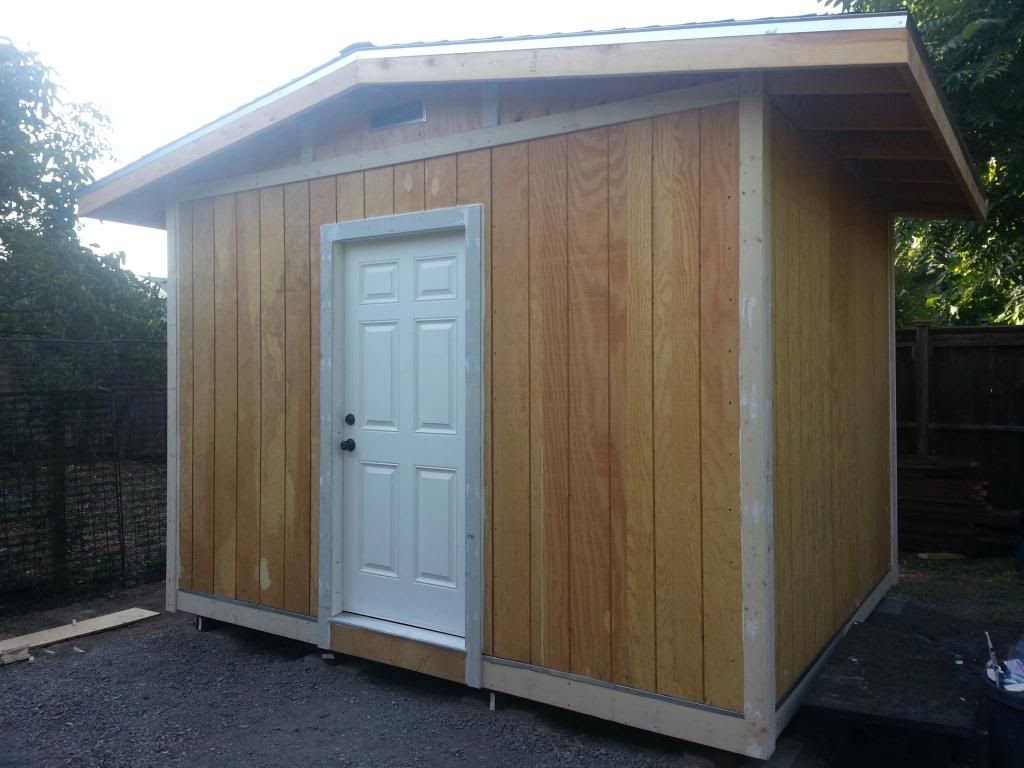
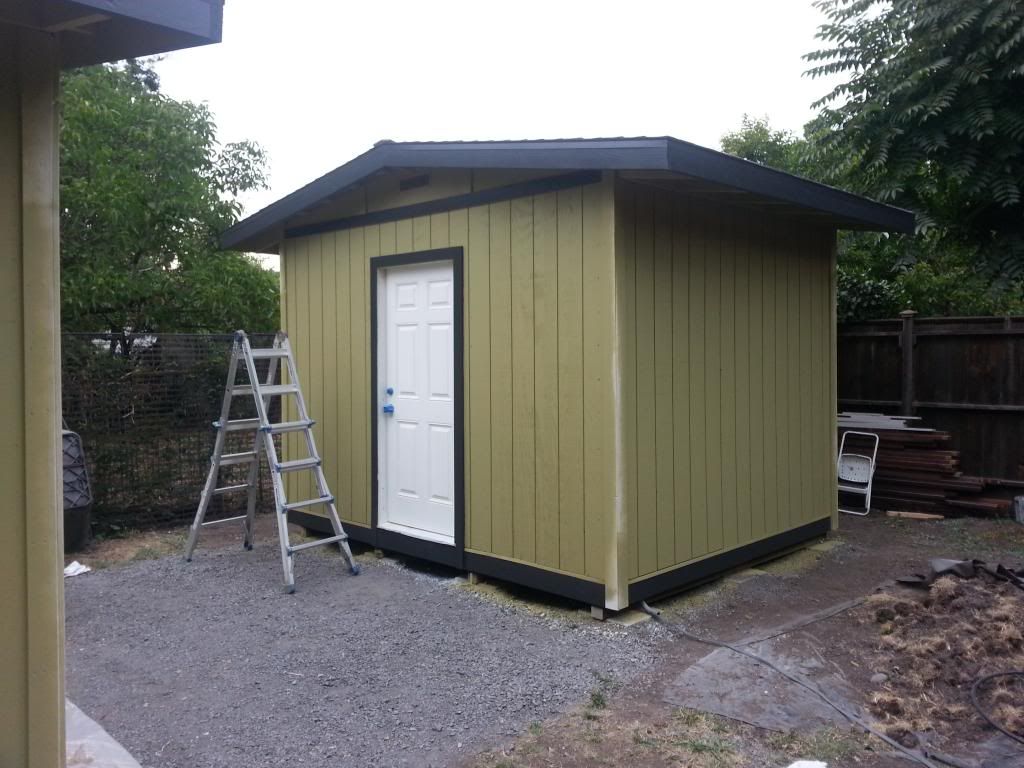
Ok back to PROGRESS!


 Thanks, taking the time to write this up was kind of fun. going back and seeing all my hard work taking place. lots of blood sweat and tears in these photos, mostly sweat though!