Well I just finished building a few new racks and have been writing up articles for my website for each one of them. Here is the first article I completed and figured I would share it here as well! The materials for this rack are were right around $100. That doesn't include tubs or flexwat though. This is a very easy rack to build considering the melamine I used is the precut melamine at Home depot. They are I believe $7.32ea. if you were to buy a whole sheet for $35 and do all the cuts yourself you could only get 6 of them out of a whole board. So you are spending around $8 per 6boards to not have to do the cuts yourself as well as each board comes with the trim already on 3sides of it. Definately worth the little extra for the ease factor in my opinion though.
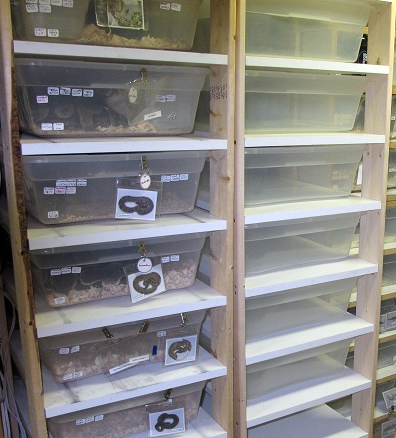
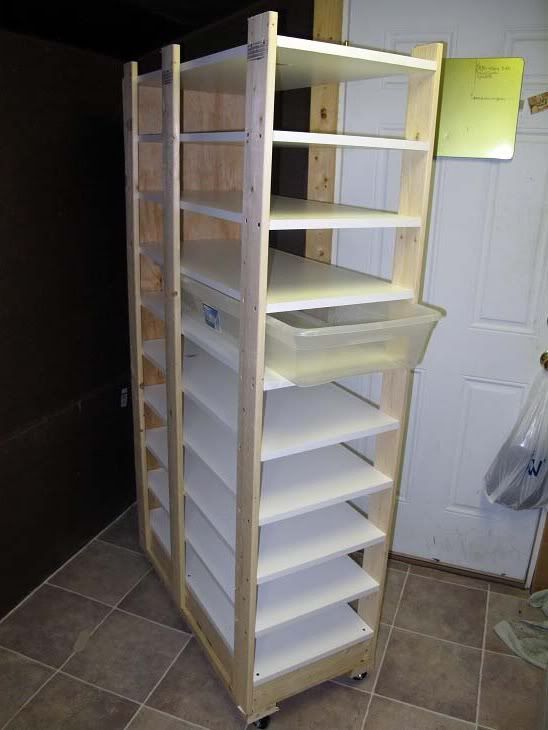
This rack is designed to use the 41 qt Sterilite tubs that can be found at both Target and Wal-Mart. They are a perfect fit for the pre-cut melamine boards found at Home Depot.
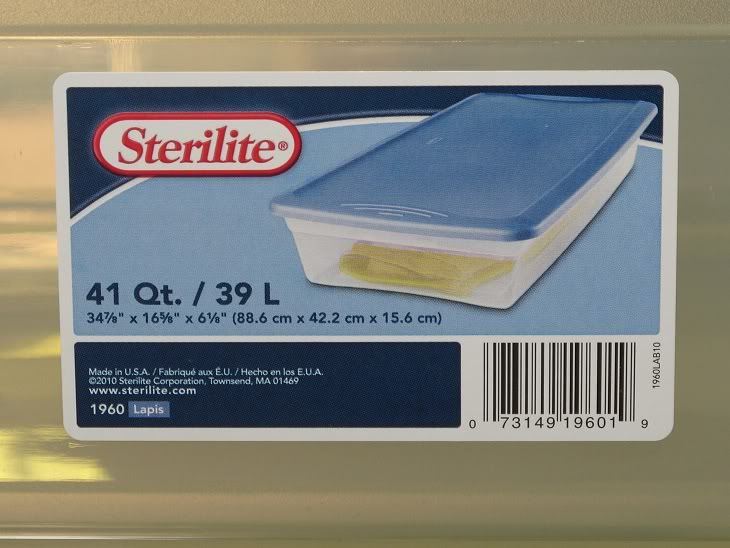
Materials Needed
2- 2x4's cut to 15 3/4 inches
2- 2x4's cut to 32 5/8 inches
2- 2x4's cut to 35 5/8 inches
4- 2x4's cut to 5 7/8inches (used to keep shelf spacing uniform)
4- heavy duty caster wheels
8- 1x4's cut to 66 inches (for a 9 tub rack, add or subtract 6 3/4 inches for every tub you add or take away from your rack)
10- precut 15 3/4inch x 35 5/8inch x 3/4inch melamine shelving boards from Home Depot.
(again this is for a 9 tub rack. You want 1 extra melamine board for however many levels you want. example 5 boards for a 4 tub rack.)
1- One piece of plyboard cut to 15 3/4inches x 35 5/8inches or you can just buy an extra precut melamine board
(this is just to seal the insulation in the caster. This is optional and not necessary if you don't insulate the bottom. Plyboard is just lighter but melamine will work just as fin)
1- Box of 1.5inch wood screws
1- Box 2.5inch wood screws
1- roll of r-13 insulation (optional)
4- 2x4's cut to 5 7/8inches
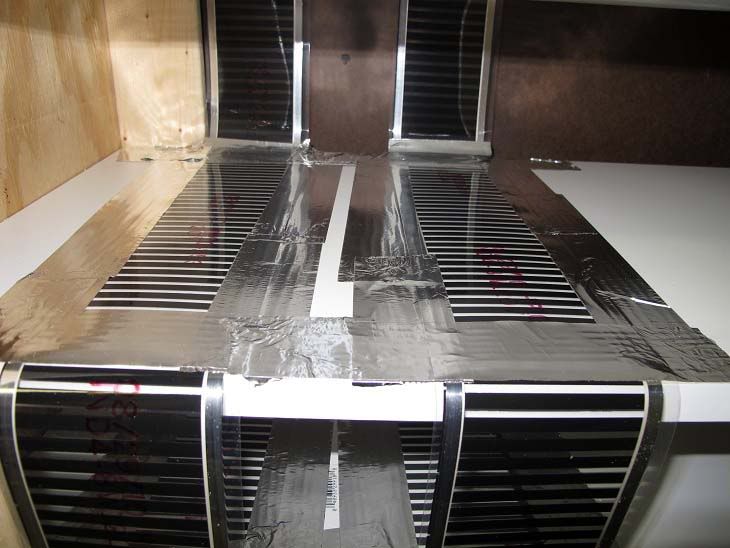
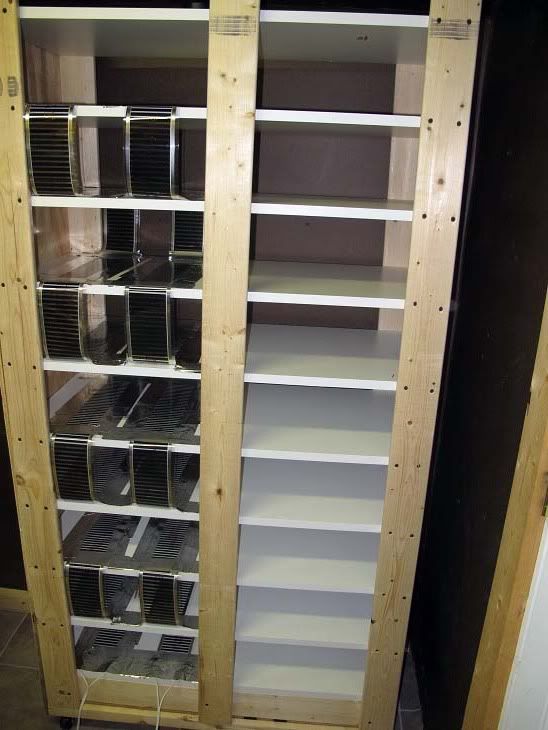
1- roll of foil tape (for flexwatt)
1- About 2foot of flexwatt per shelf, per strip (1 strip of 11inch vs 2 strips of 4inch)
Tools Needed
1- small drillbit for pilot holes
1- #2 drill bit
1-2 Screwguns. (one will get the job done, but having 2 screwguns and not having to change the bits back and forth makes for a much easier faster job!)
1-square
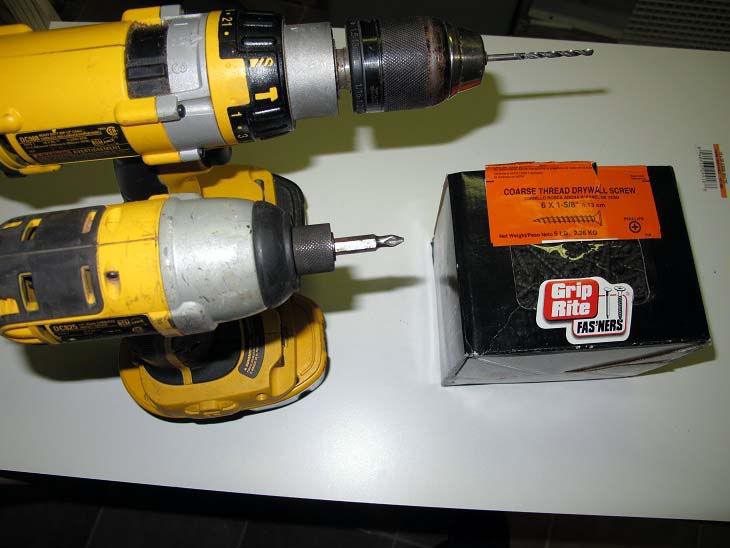
Now Your Ready To Start Building
2x4 Assembly For The Caster
Using your factory cut sheet of melamine to make sure your 2x4s are square and not sticking out past the melamine platform assemble the frame by screwing the face of the 15 3/4inch 2x4's into the ends of the 32 5/8 2x4's. Use 2 screws on each end so that everything stays firm.
Screwing Down The Melamine Top To The Caster
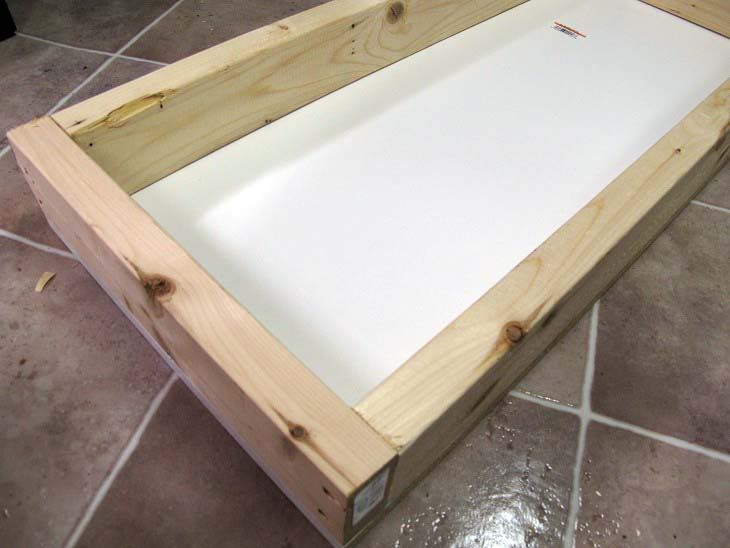
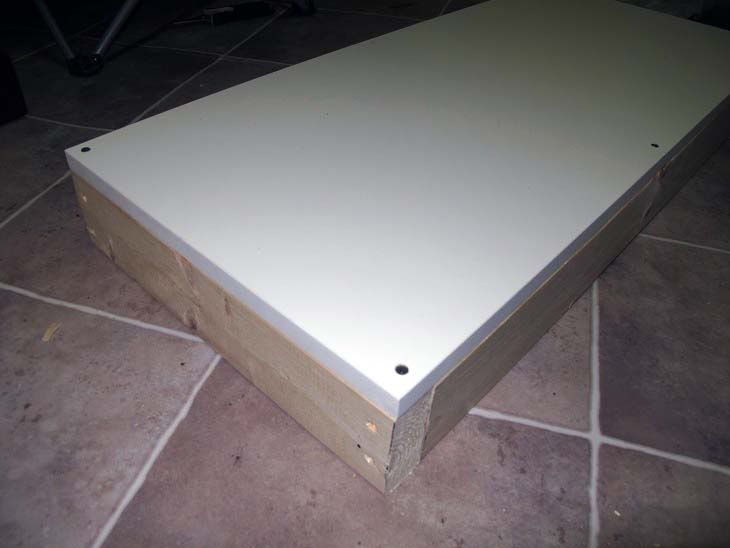
Before you start screwing make sure that the 2x4 frame is square to the melamine and everything is flush. Once you are satisfied the pieces are lined up right take your drill and drill a pilot hole in one of the corners and tack the board down with a screw. Repeat this process for every corner making sure the frame stays lined up in the right position. Once you get the second screw in your not going to be able to adjust it. After all for corners are tacked down add another screw in the middle of the board long ways just for good measure.
Insulation
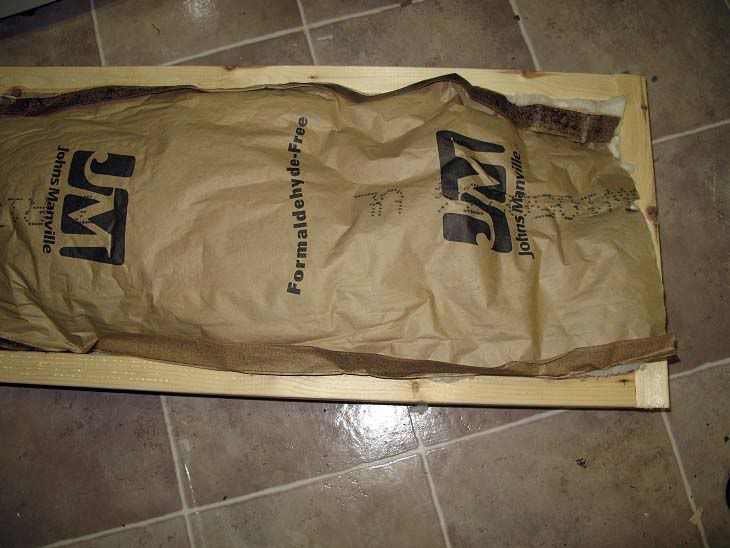
Every time I built a rack there was something that I wish I'd done different after it was built. Making sure the bottom is good and insulated is one of them! For this rack I actually stuffed 2 layers of R-13 insulation inside my caster. You can see the top piece in the photo. There is actually a second piece stuffed in below that one. This step is optional, but it's a step that I would never build a rack for myself again in the future without doing.
Sealing The Insulation Inside The Caster
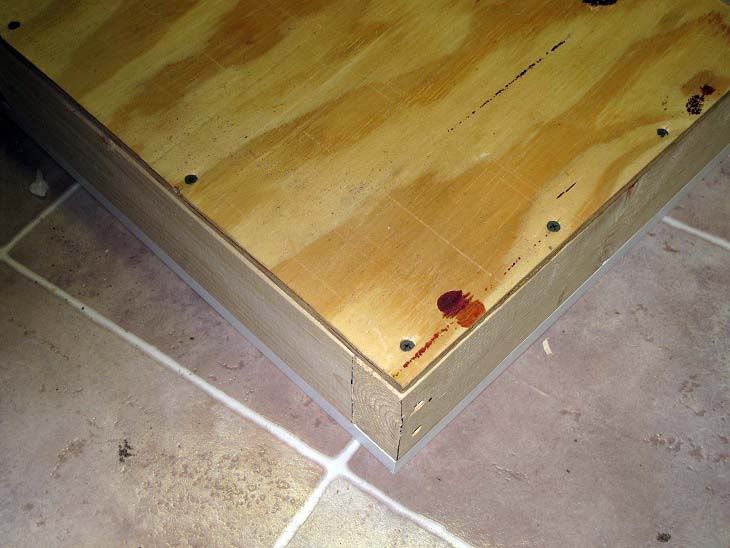
If you decided not to use insulation you can skip this step if you'd like. If you did instal insulation, just go ahead and make sure it' is packed in there nicely and place your cut plyboard piece on, make sure it's all flush with the frame and screw it down. If you don't feel like buying and cutting a piece of plyboard to fit, you can easily use a piece of precut melamine for the top and bottom of the caster. I just prefer to use plyboard because it's significanly lighter than the melamine.
Add the 2x4 Braces For The Wheels
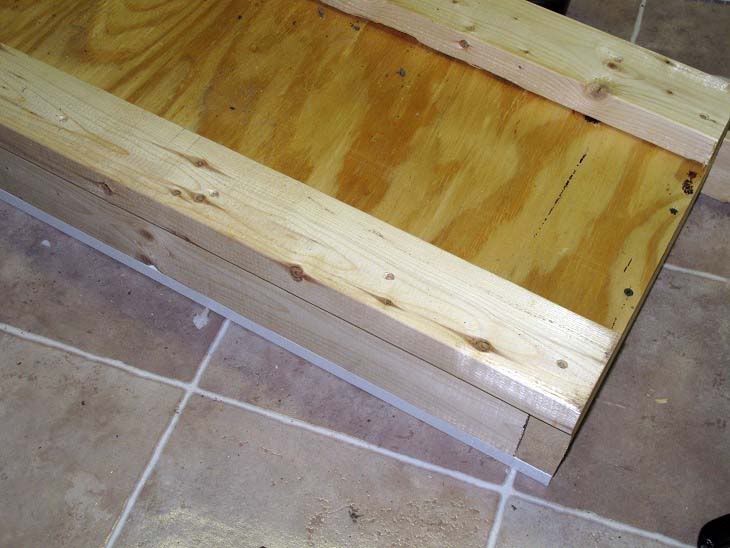
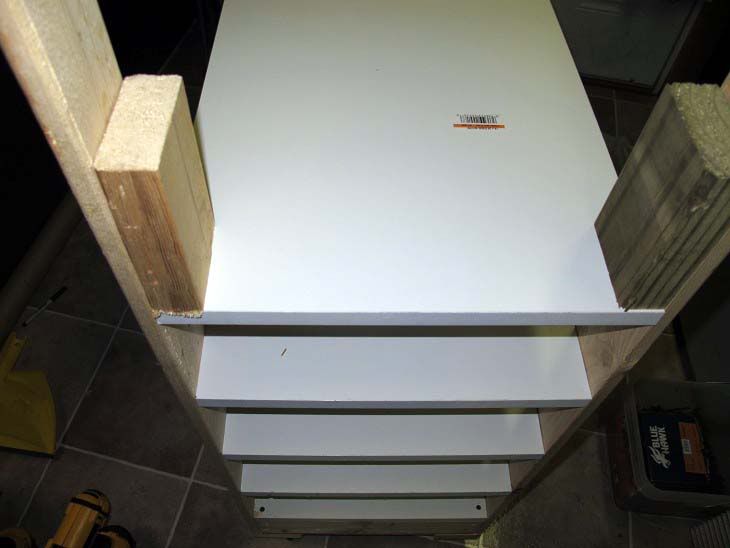
Take your 2- 2x4's that were cut 35 3/8inches and align them along the bottom sides of the caster. Let the 2x4 hang over the edge of the caster box the thickness of one of the 8 boards you cut for the side braces. This way there is a slight lip for the braces to rest on for added support. Screw the 2x4's down so that your screws hit the first 2x4's you used to make the sides of the caster.
Add Your Wheels
I used the heavy duty wheels available at Home Depot for $3.44 each. Place a wheel in every corner of the caster and screw down.
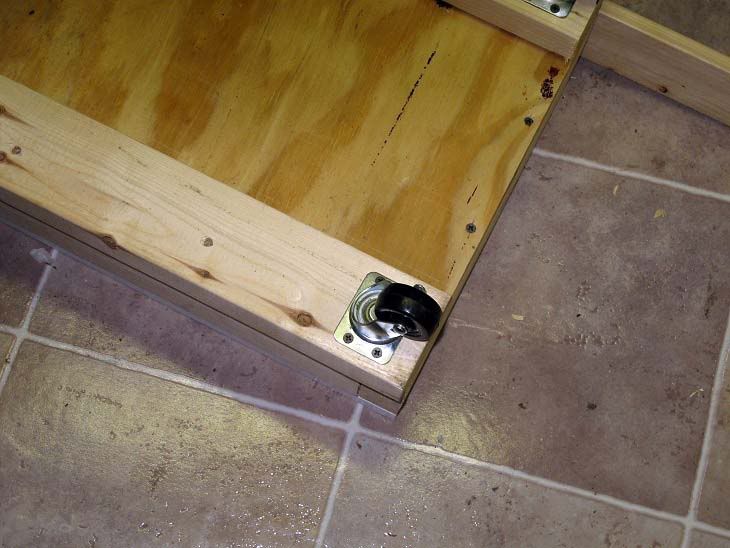
Finished Caster
After you install the wheels, flip your finished caster over and now you are ready to add your braces and build your rack!
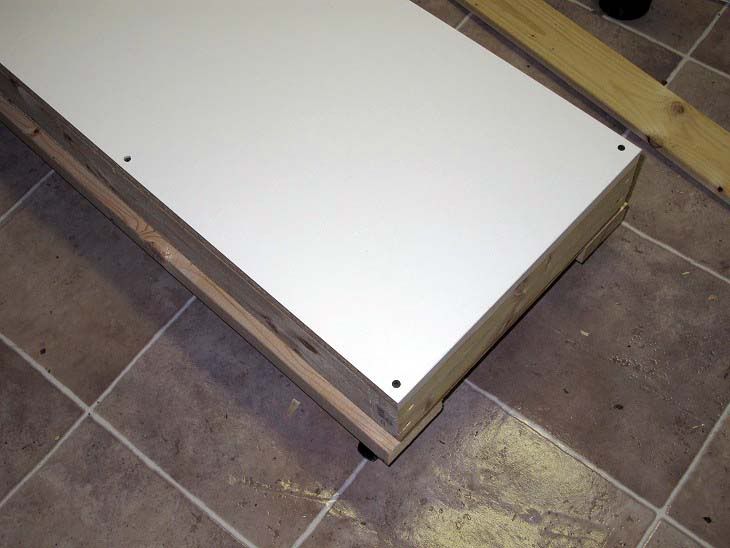

This rack is designed to use the 41 qt Sterilite tubs that can be found at both Target and Wal-Mart. They are a perfect fit for the pre-cut melamine boards found at Home Depot.

Materials Needed
2- 2x4's cut to 15 3/4 inches
2- 2x4's cut to 32 5/8 inches
2- 2x4's cut to 35 5/8 inches
4- 2x4's cut to 5 7/8inches (used to keep shelf spacing uniform)
4- heavy duty caster wheels
8- 1x4's cut to 66 inches (for a 9 tub rack, add or subtract 6 3/4 inches for every tub you add or take away from your rack)
10- precut 15 3/4inch x 35 5/8inch x 3/4inch melamine shelving boards from Home Depot.
(again this is for a 9 tub rack. You want 1 extra melamine board for however many levels you want. example 5 boards for a 4 tub rack.)
1- One piece of plyboard cut to 15 3/4inches x 35 5/8inches or you can just buy an extra precut melamine board
(this is just to seal the insulation in the caster. This is optional and not necessary if you don't insulate the bottom. Plyboard is just lighter but melamine will work just as fin)
1- Box of 1.5inch wood screws
1- Box 2.5inch wood screws
1- roll of r-13 insulation (optional)
4- 2x4's cut to 5 7/8inches
1- roll of foil tape (for flexwatt)
1- About 2foot of flexwatt per shelf, per strip (1 strip of 11inch vs 2 strips of 4inch)
Tools Needed
1- small drillbit for pilot holes
1- #2 drill bit
1-2 Screwguns. (one will get the job done, but having 2 screwguns and not having to change the bits back and forth makes for a much easier faster job!)
1-square

Now Your Ready To Start Building
2x4 Assembly For The Caster
Using your factory cut sheet of melamine to make sure your 2x4s are square and not sticking out past the melamine platform assemble the frame by screwing the face of the 15 3/4inch 2x4's into the ends of the 32 5/8 2x4's. Use 2 screws on each end so that everything stays firm.

Screwing Down The Melamine Top To The Caster
Before you start screwing make sure that the 2x4 frame is square to the melamine and everything is flush. Once you are satisfied the pieces are lined up right take your drill and drill a pilot hole in one of the corners and tack the board down with a screw. Repeat this process for every corner making sure the frame stays lined up in the right position. Once you get the second screw in your not going to be able to adjust it. After all for corners are tacked down add another screw in the middle of the board long ways just for good measure.

Insulation
Every time I built a rack there was something that I wish I'd done different after it was built. Making sure the bottom is good and insulated is one of them! For this rack I actually stuffed 2 layers of R-13 insulation inside my caster. You can see the top piece in the photo. There is actually a second piece stuffed in below that one. This step is optional, but it's a step that I would never build a rack for myself again in the future without doing.

Sealing The Insulation Inside The Caster
If you decided not to use insulation you can skip this step if you'd like. If you did instal insulation, just go ahead and make sure it' is packed in there nicely and place your cut plyboard piece on, make sure it's all flush with the frame and screw it down. If you don't feel like buying and cutting a piece of plyboard to fit, you can easily use a piece of precut melamine for the top and bottom of the caster. I just prefer to use plyboard because it's significanly lighter than the melamine.

Add the 2x4 Braces For The Wheels
Take your 2- 2x4's that were cut 35 3/8inches and align them along the bottom sides of the caster. Let the 2x4 hang over the edge of the caster box the thickness of one of the 8 boards you cut for the side braces. This way there is a slight lip for the braces to rest on for added support. Screw the 2x4's down so that your screws hit the first 2x4's you used to make the sides of the caster.

Add Your Wheels
I used the heavy duty wheels available at Home Depot for $3.44 each. Place a wheel in every corner of the caster and screw down.

Finished Caster
After you install the wheels, flip your finished caster over and now you are ready to add your braces and build your rack!


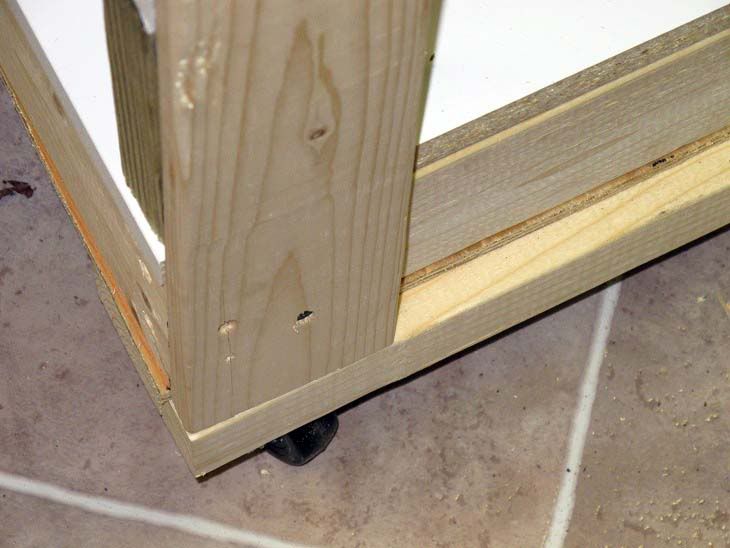
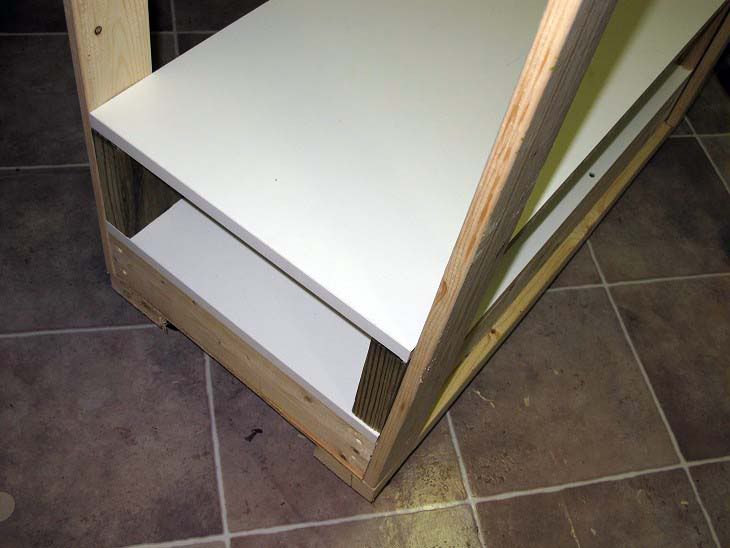
 I myself didn't get happen to get injured on this project